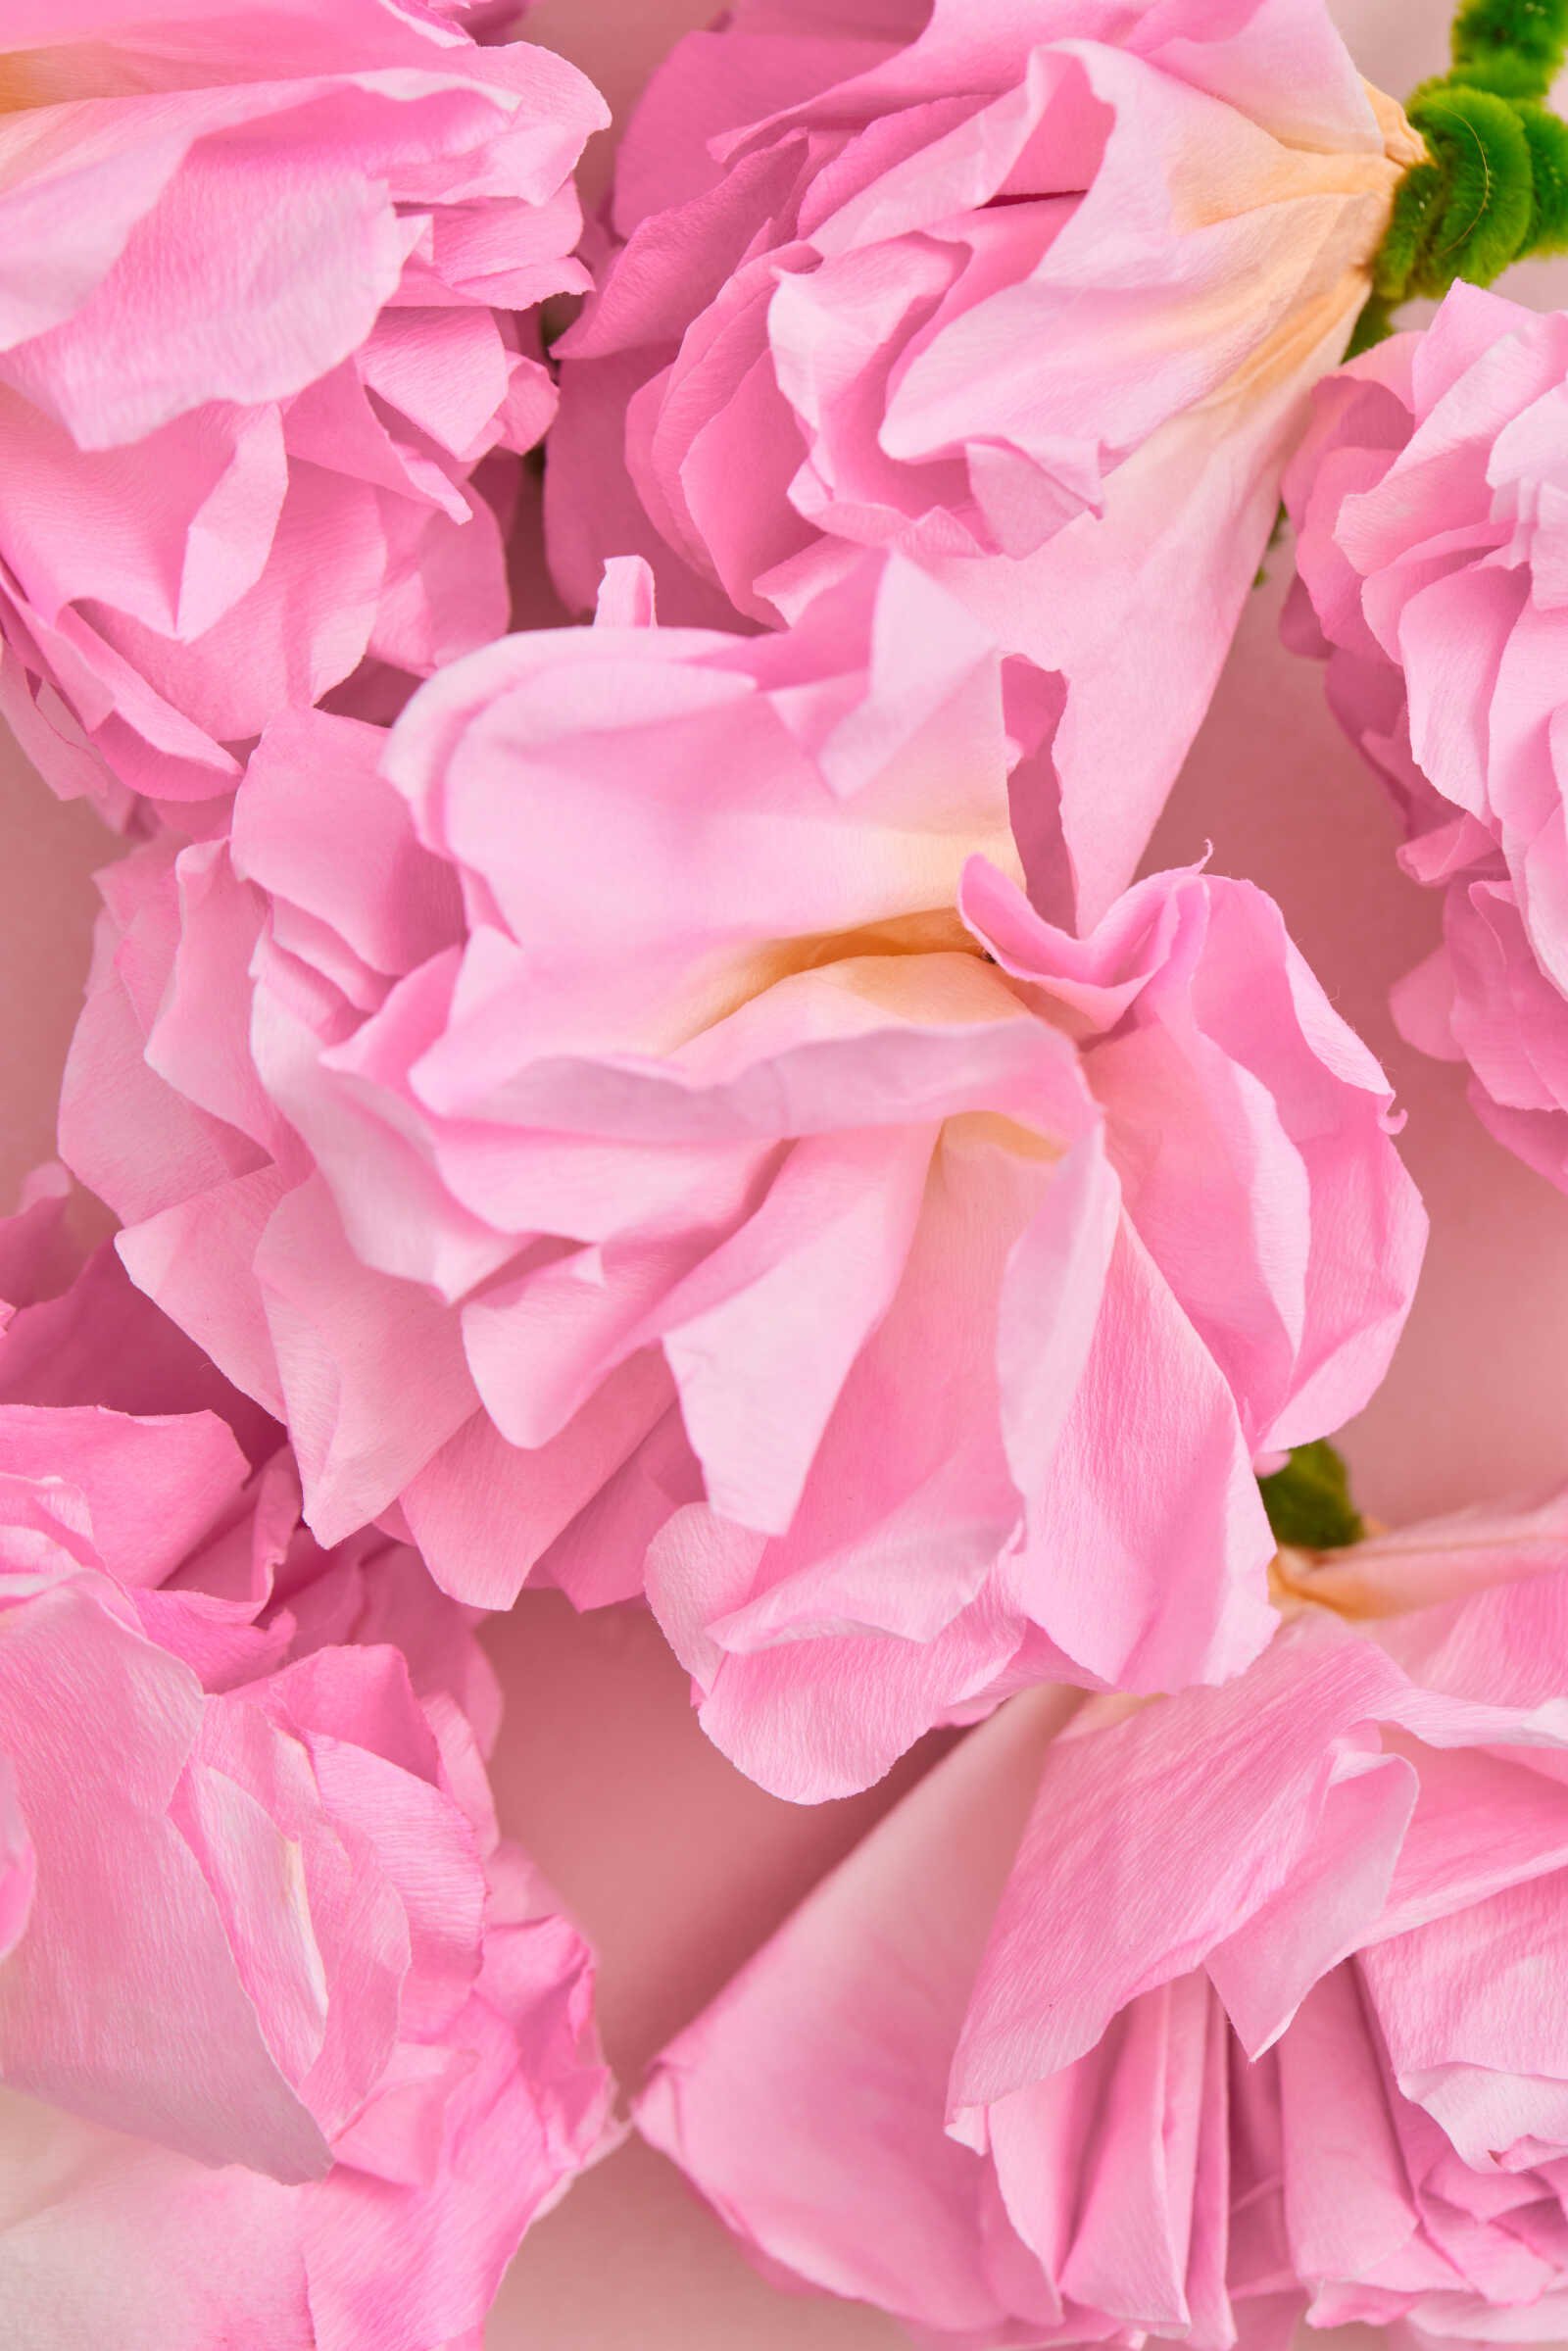
Coffee Filter Flowers Craft: Easy & Beautiful DIY for Kids and Moms
If you’re looking for a simple, budget-friendly craft that turns everyday supplies into something truly beautiful, this Coffee Filter Flowers Craft is one of those magical projects that never disappoints. Whether you’re crafting with kids, planning a spring activity, or creating content for your blog or Pinterest, this DIY project is colorful, creative, and incredibly satisfying.
What makes this craft so special is how it blends art and science—watching colors spread through the coffee filters feels almost like watercolor magic. Plus, the end result? Gorgeous, soft, layered flowers that look surprisingly realistic.
This is the kind of craft that works for:
- Rainy afternoons at home
- Classroom spring projects
- Mother’s Day gifts
- DIY home decor
- Kids’ birthday party activities
Let’s walk through everything you need and exactly how to make your own stunning coffee filter flowers.
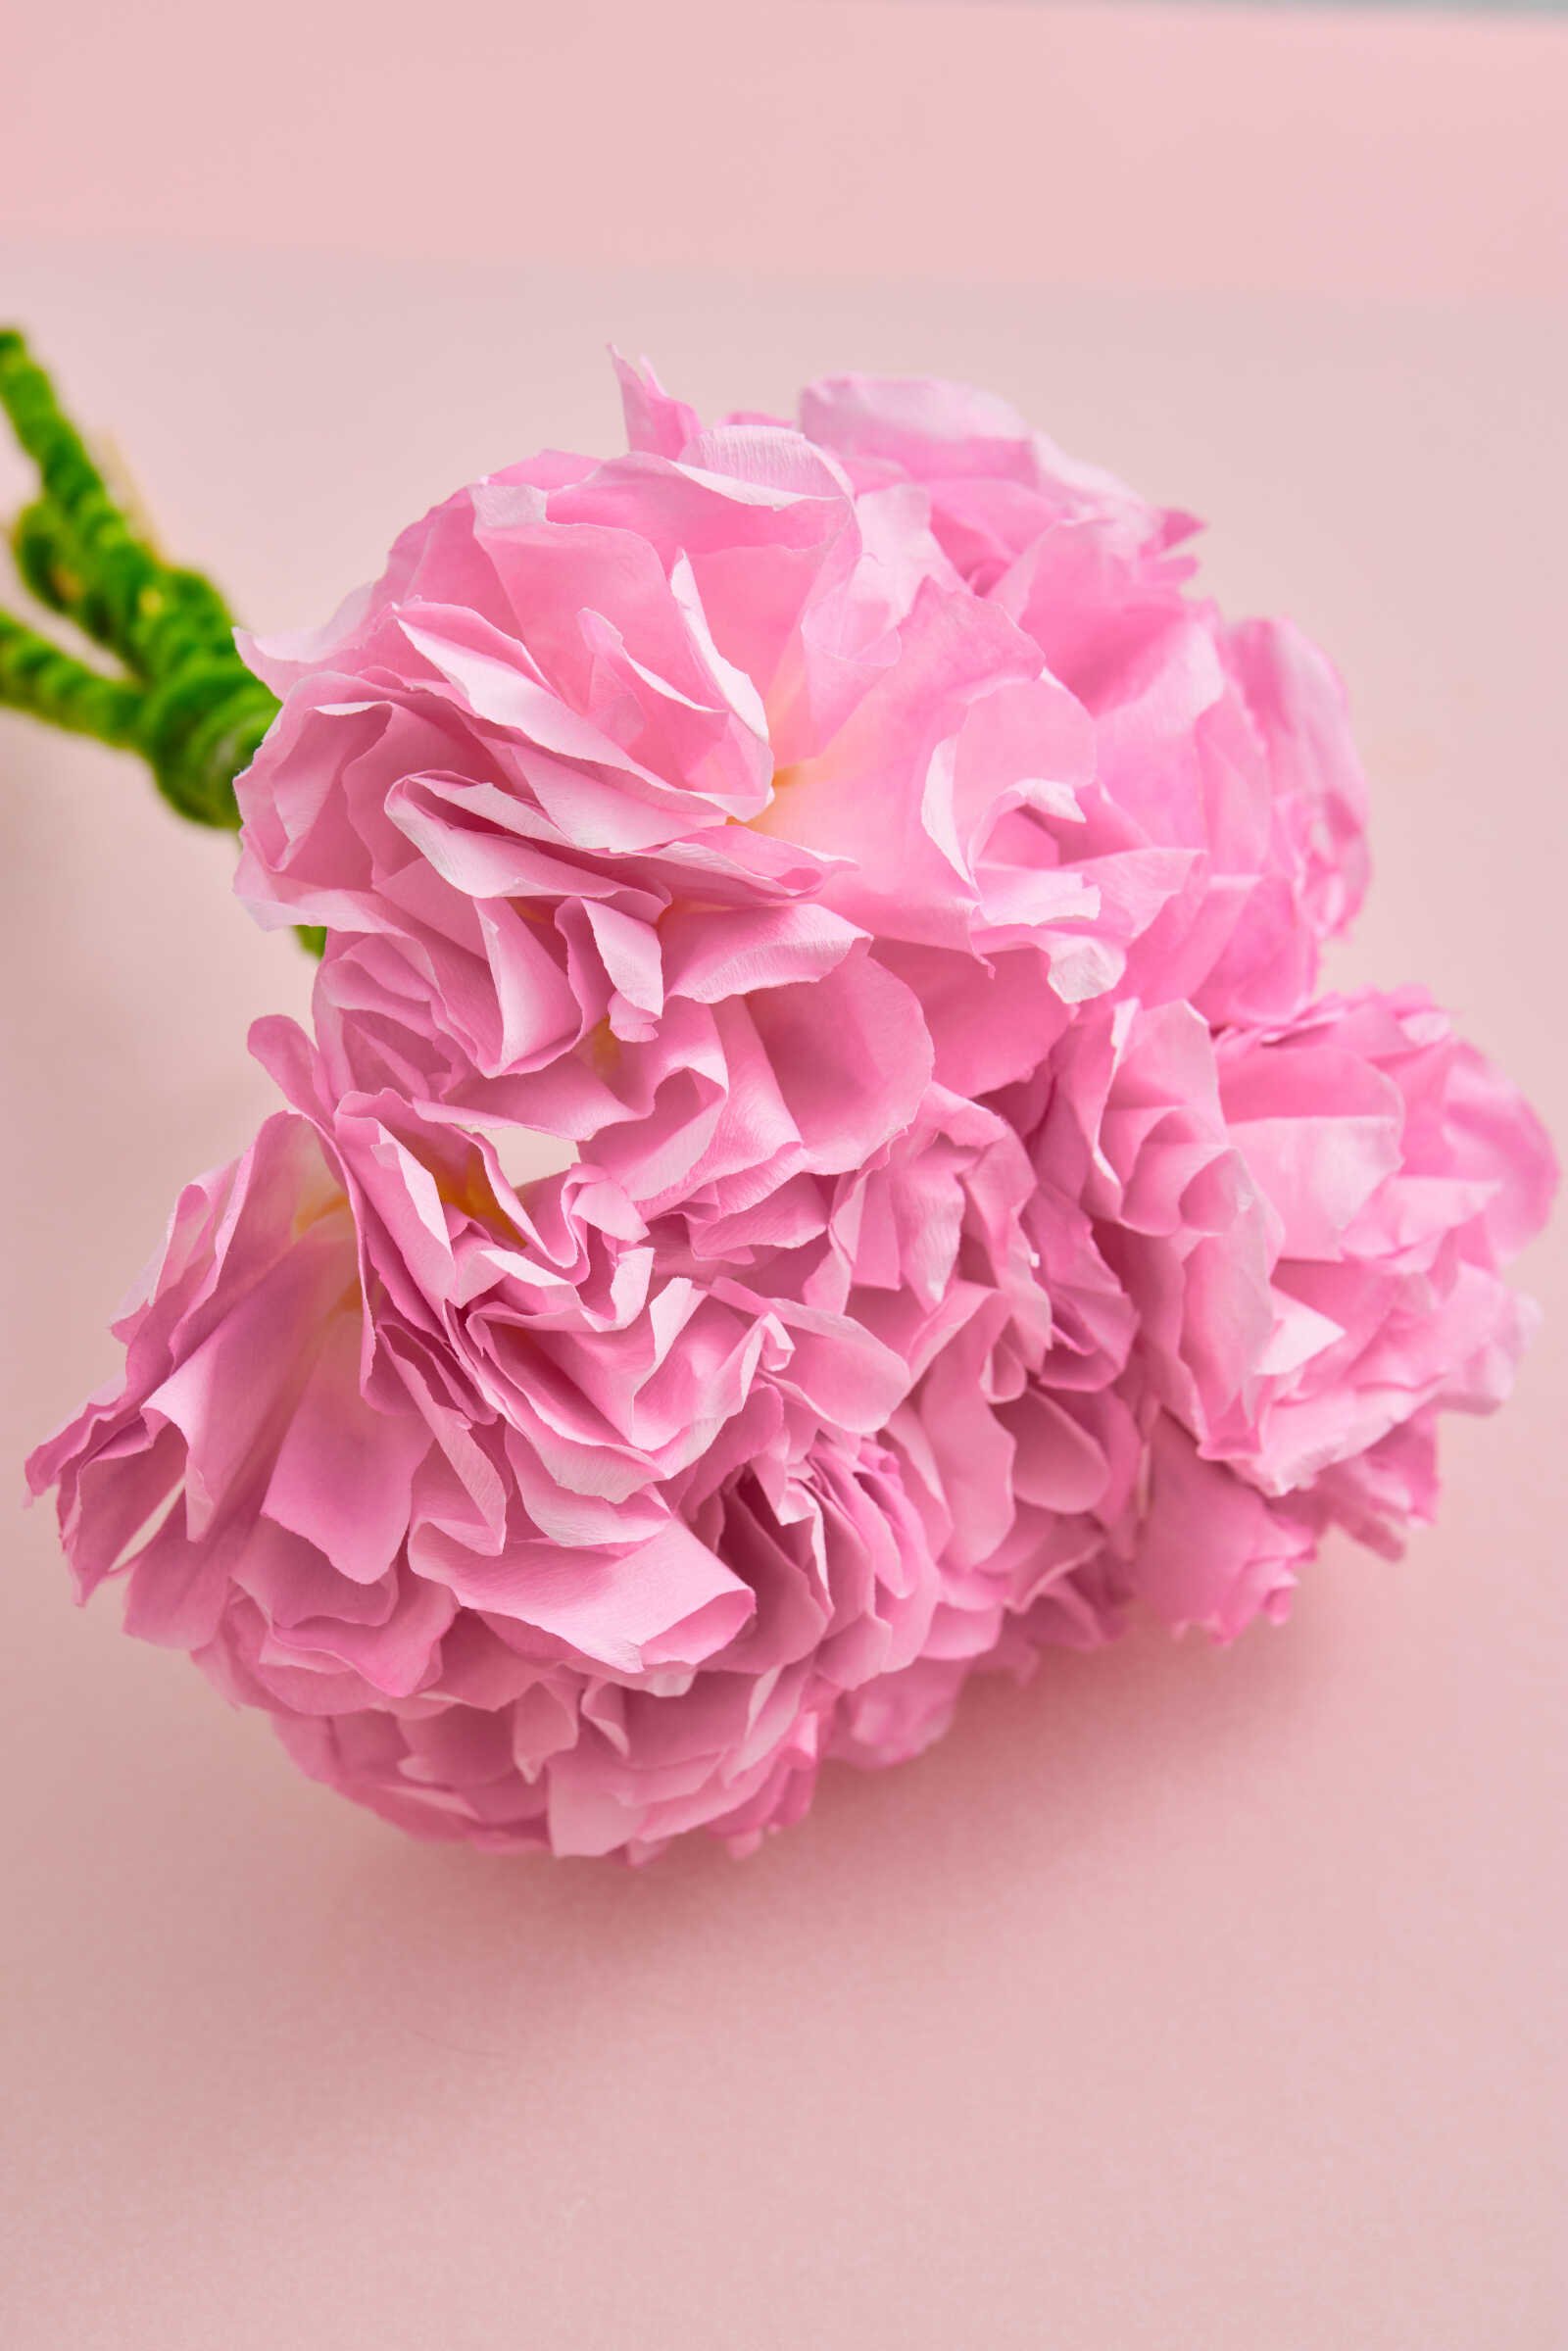
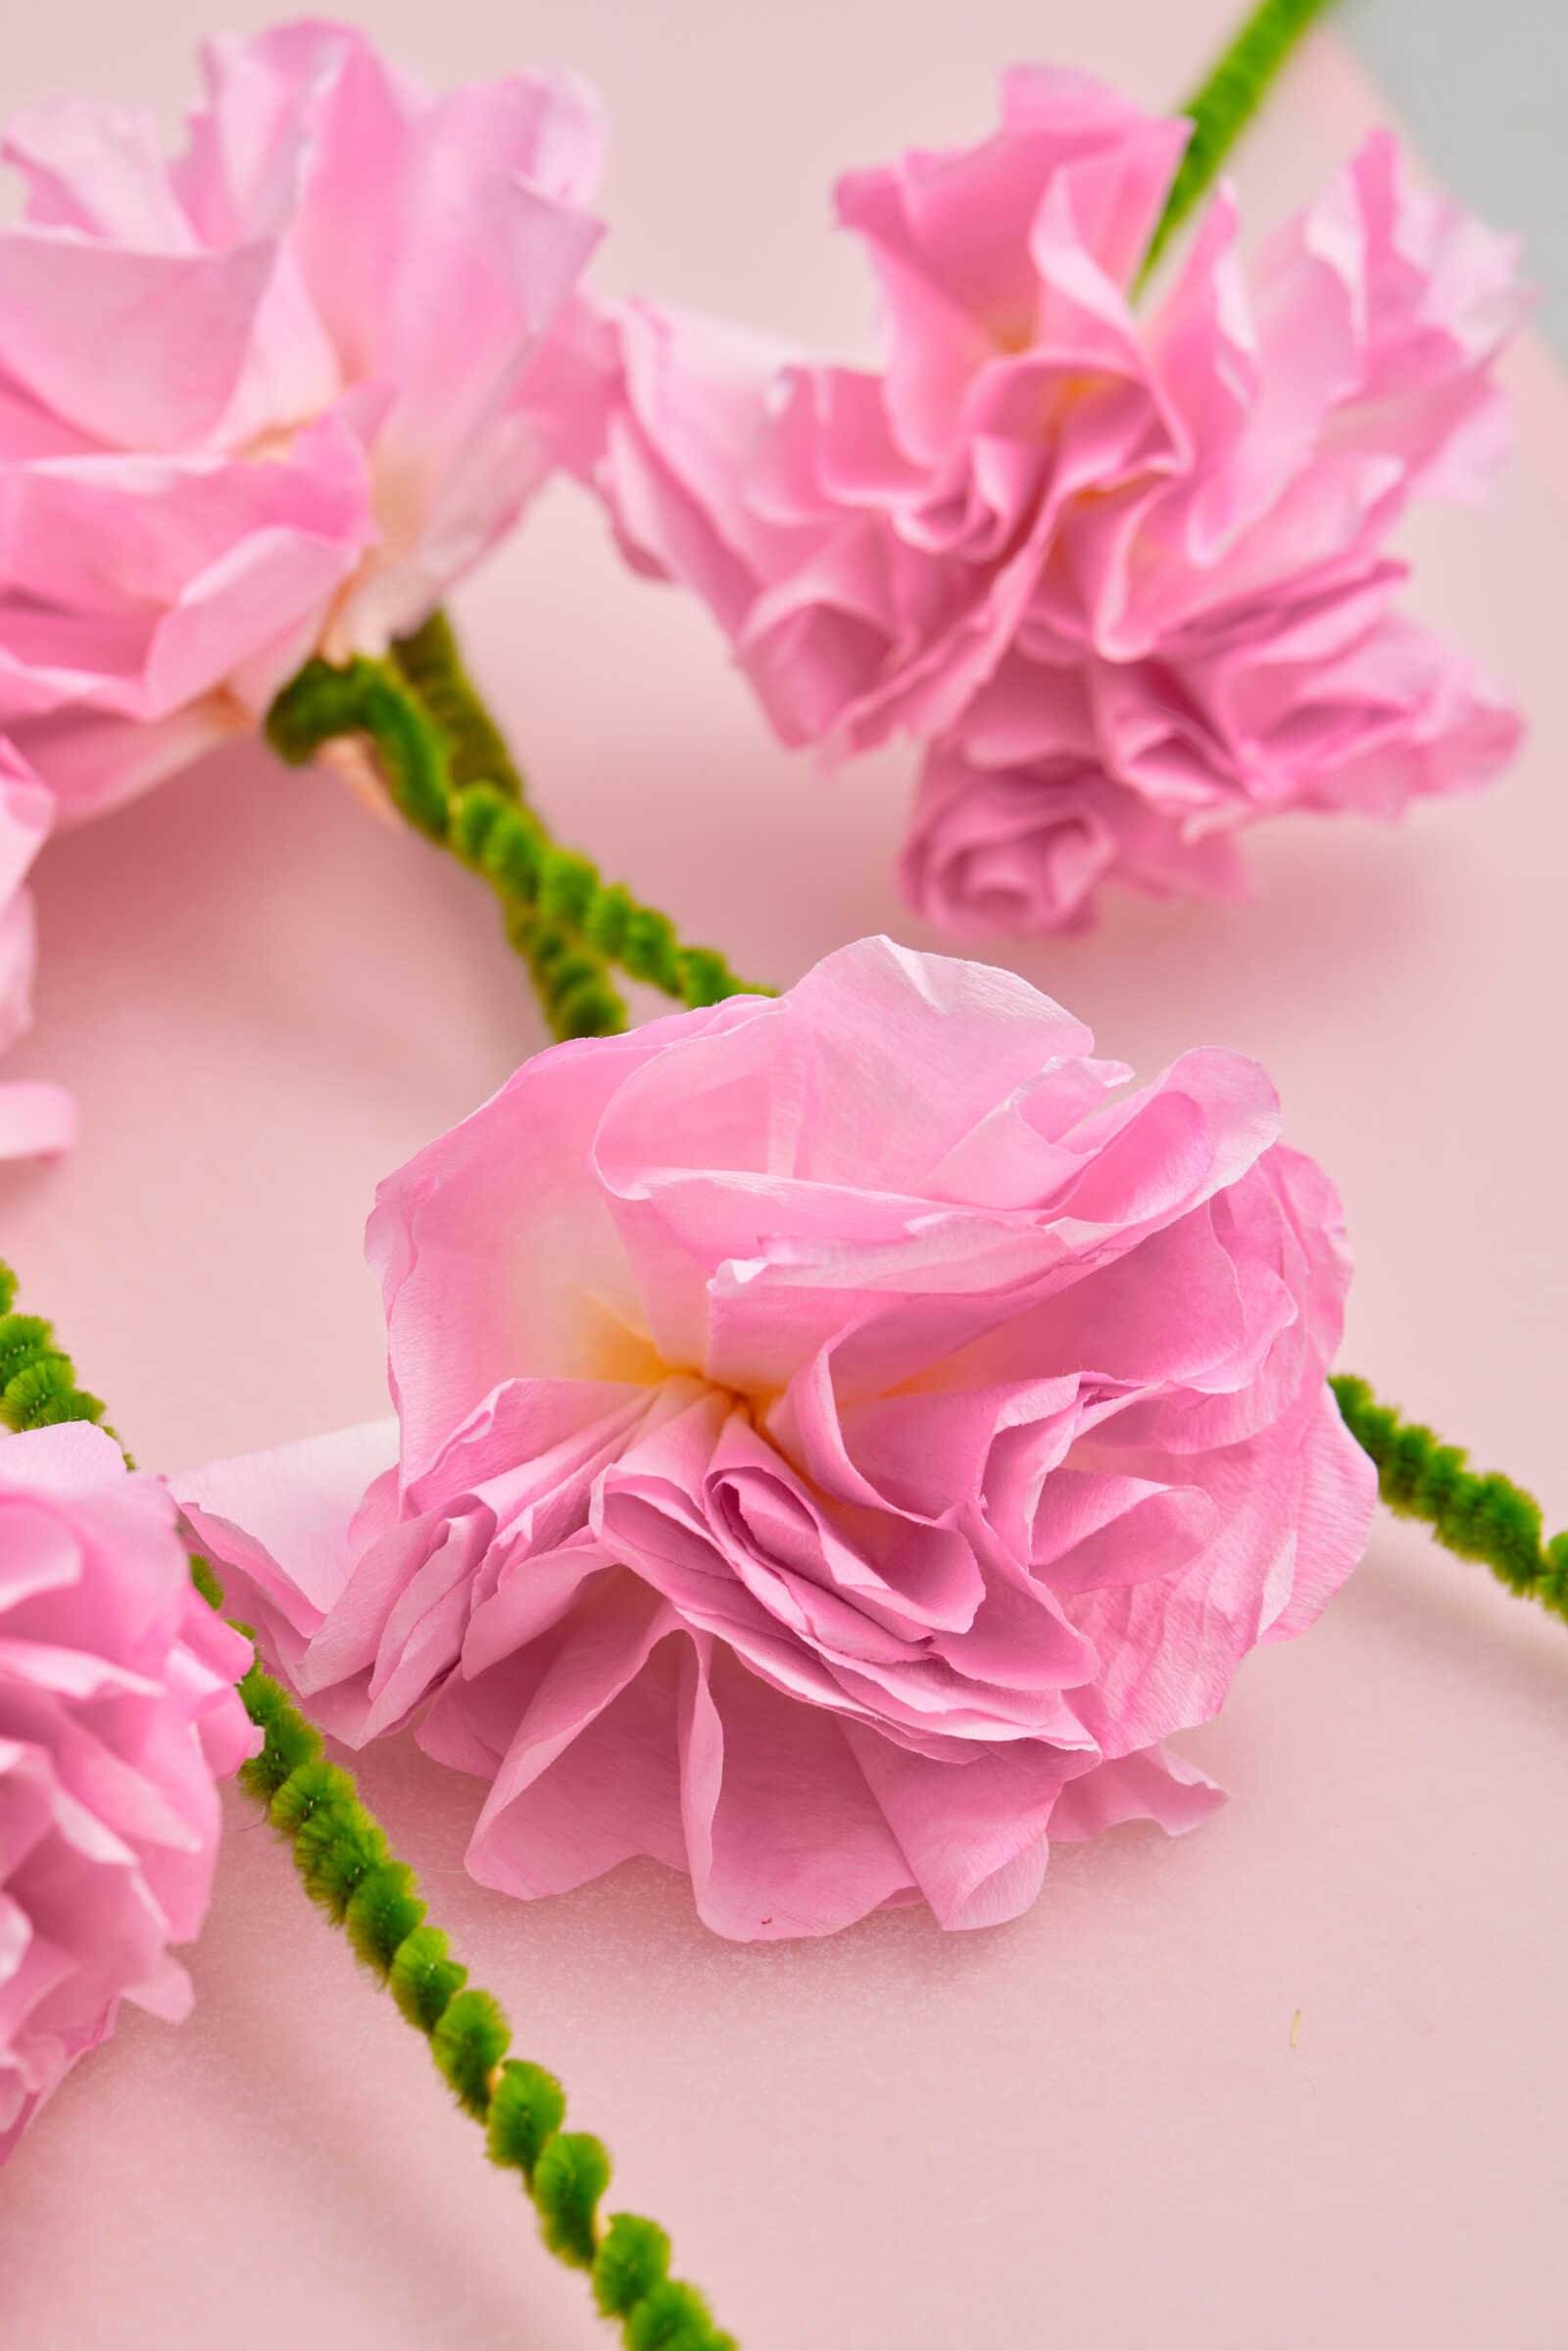
Table of Contents
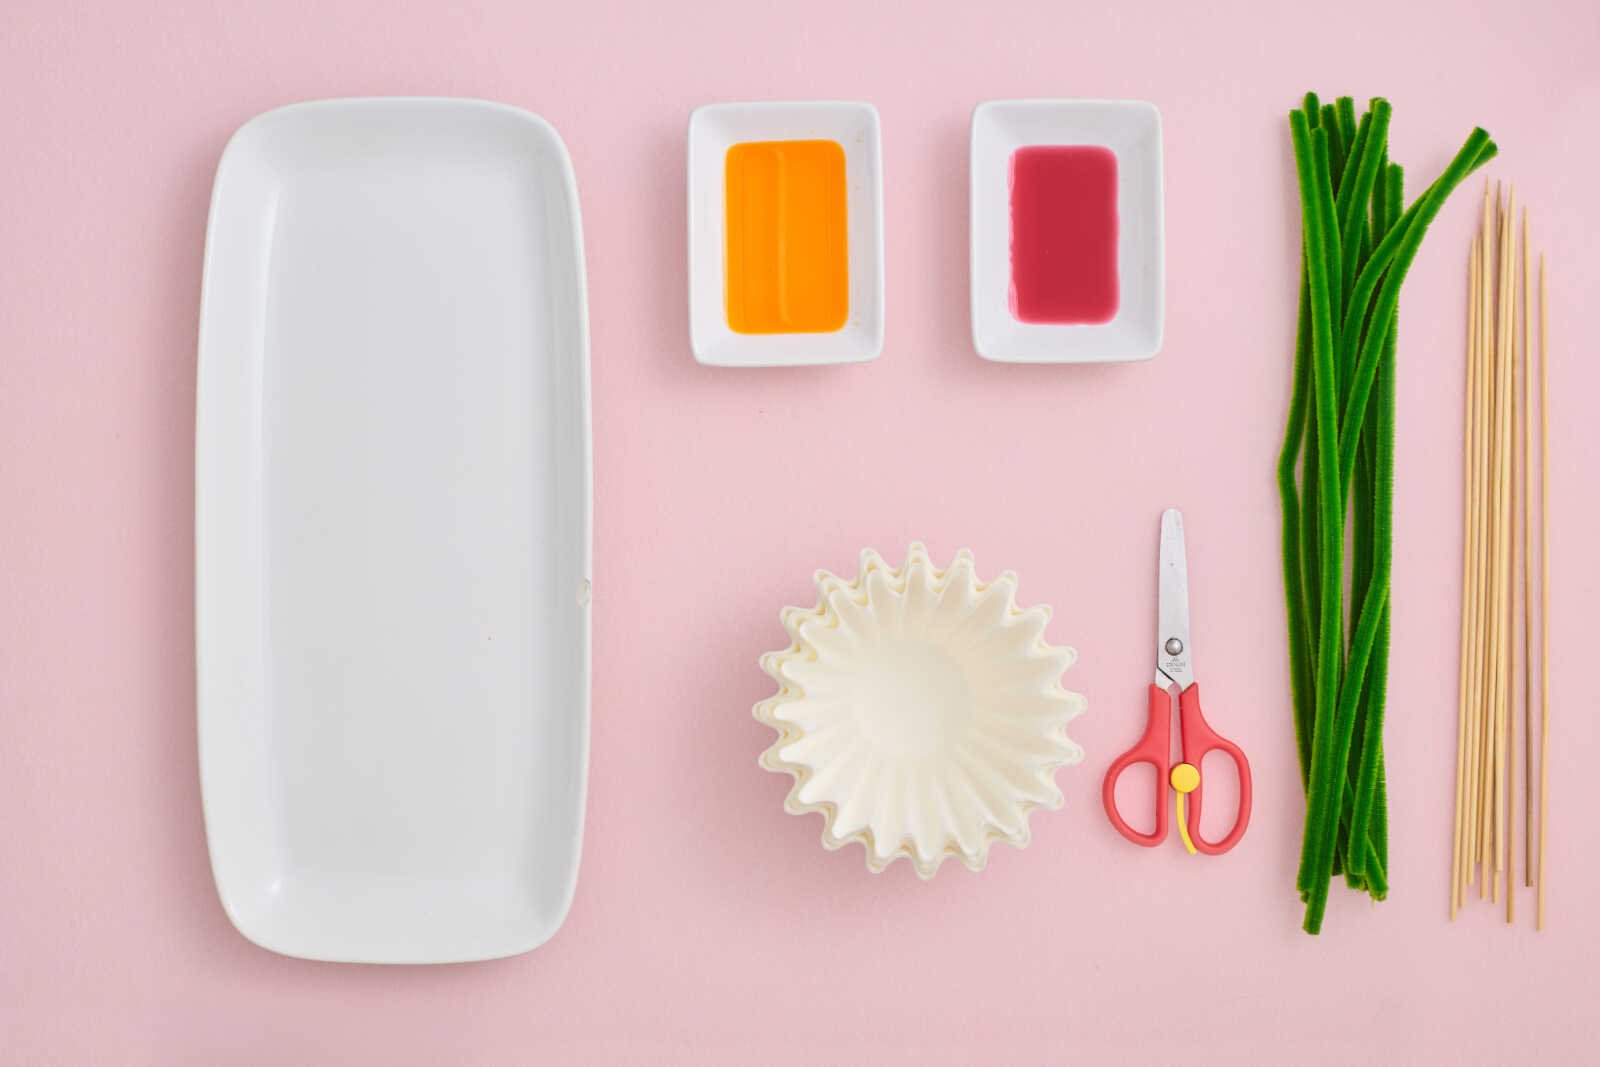
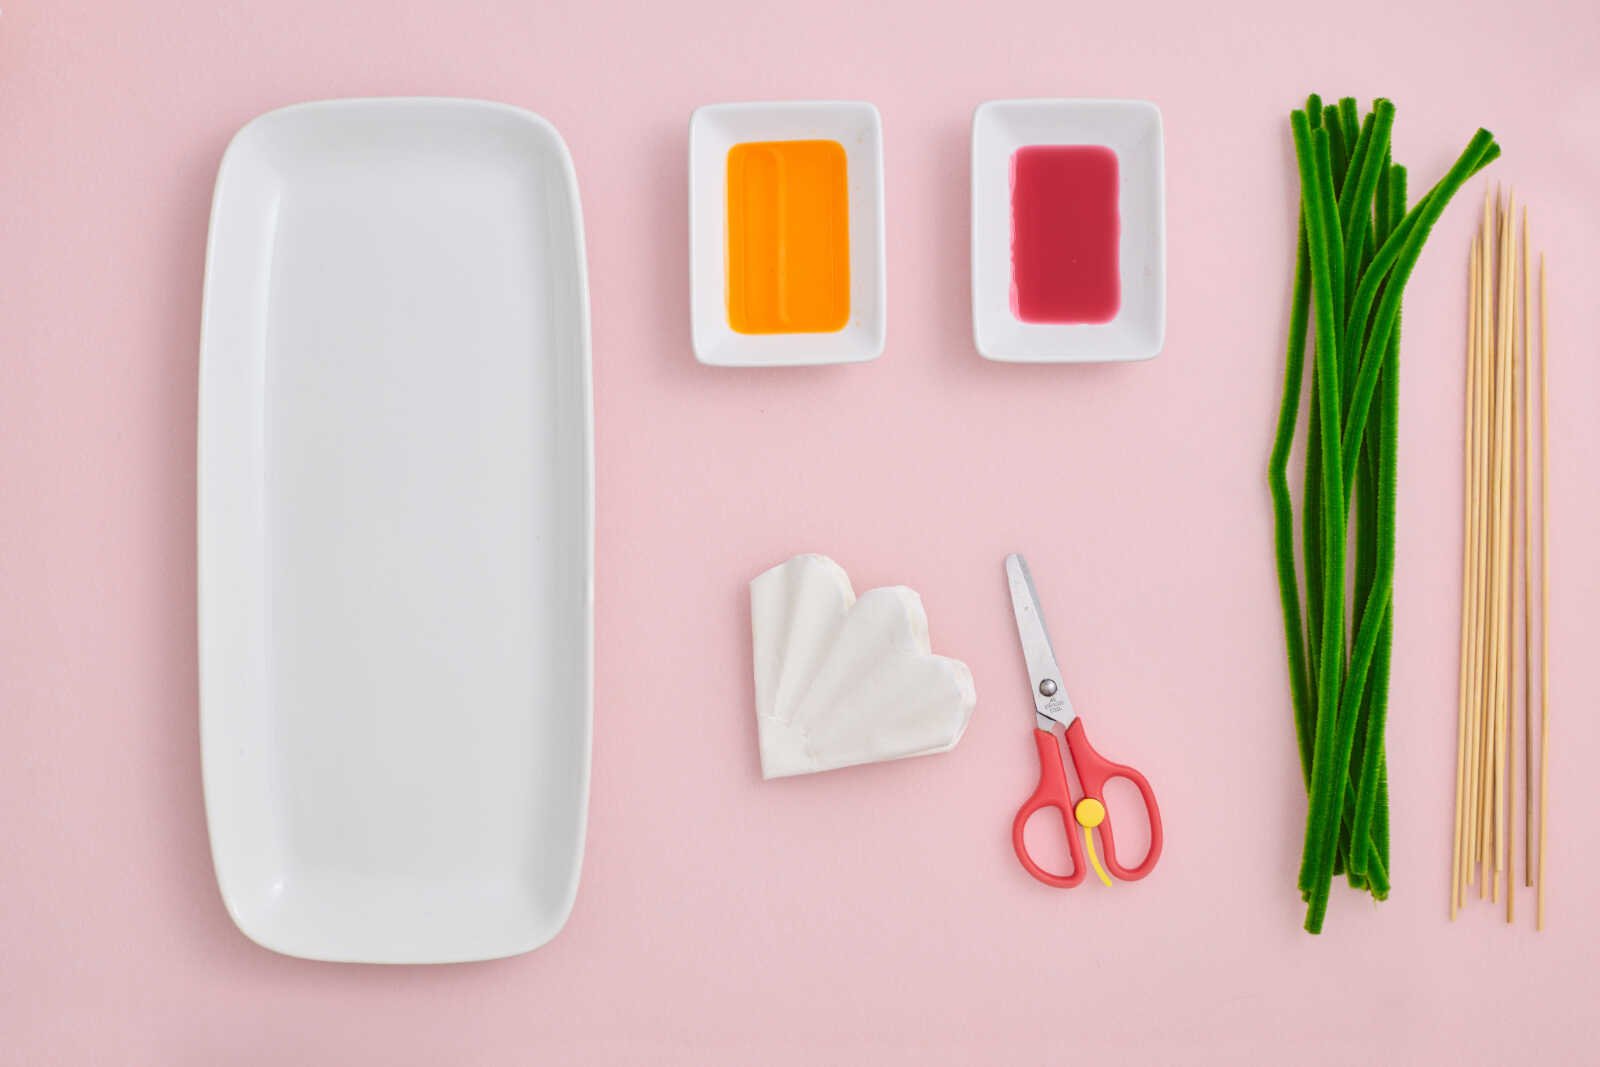
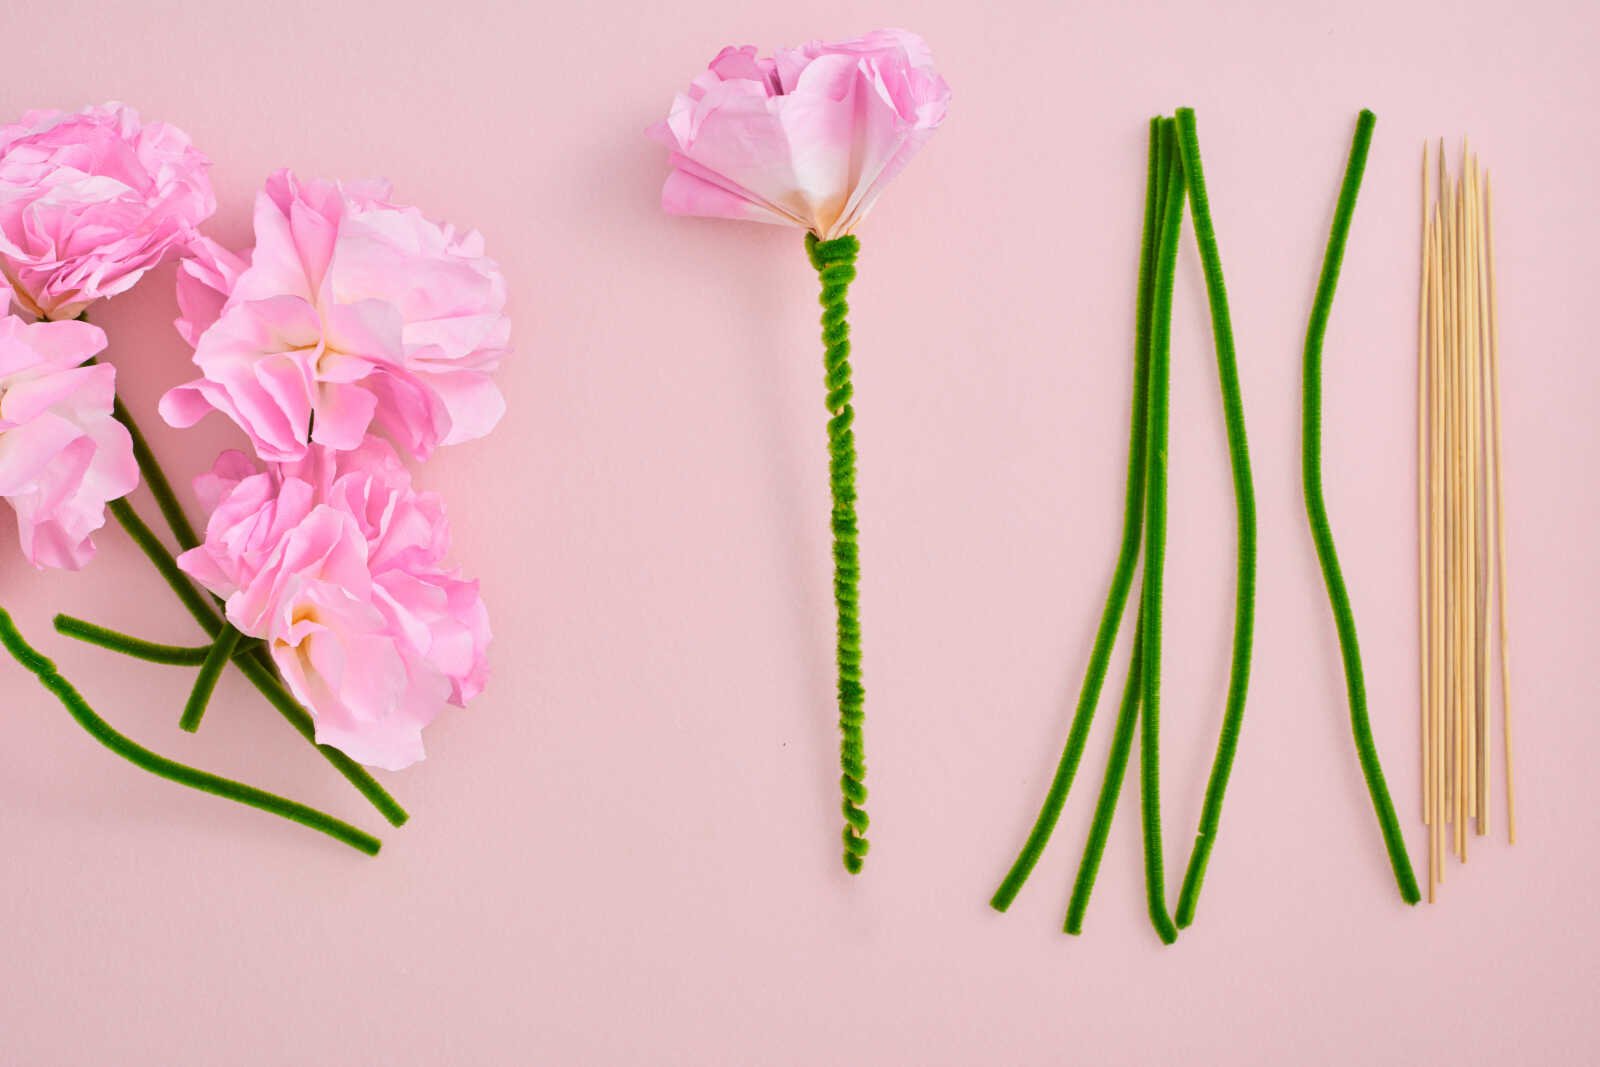
Materials You’ll Need
Keep it simple—you probably already have most of these at home.
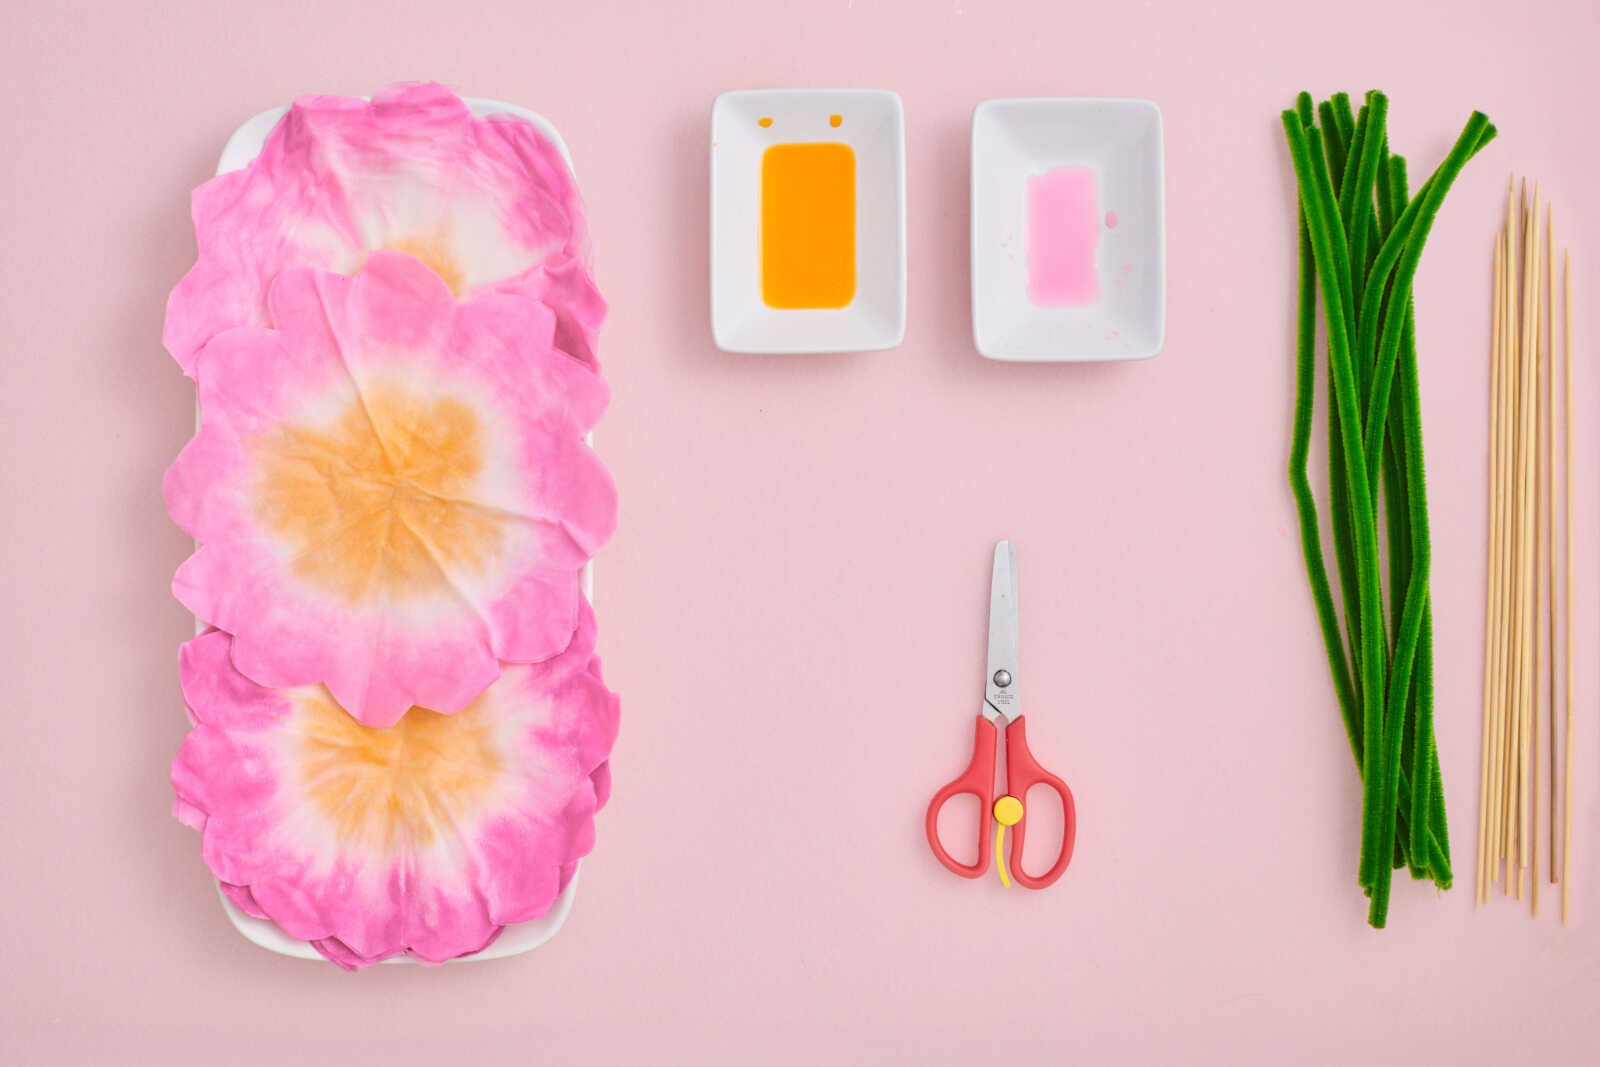
Materials
- Coffee filters (used in a stack)
- Green pipe cleaners
- Wooden skewers
- Liquid paint or food coloring (two colors)
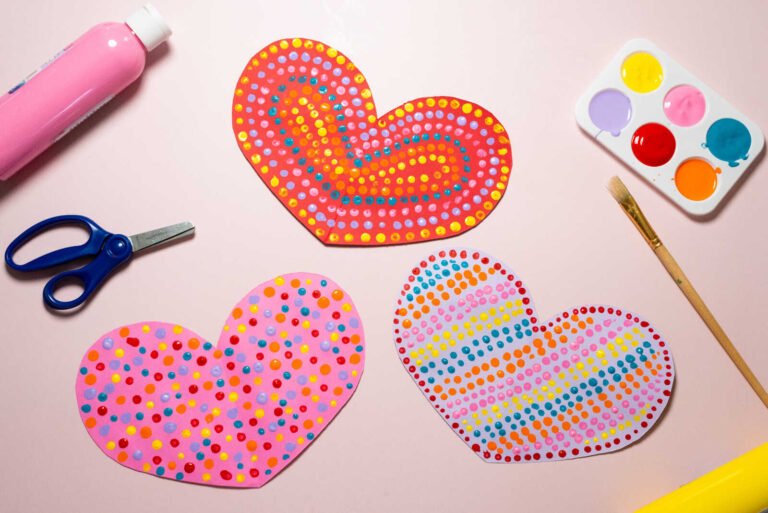
Tools
- Scissors
- Shallow trays or small dishes
Mom Tip: Dollar stores are perfect for grabbing coffee filters and pipe cleaners in bulk if you’re crafting with multiple kids.
Why Coffee Filter Crafts Work So Well
Coffee filters are perfect for crafts because they’re:
- Highly absorbent (great for blending colors)
- Soft and easy to cut
- Affordable and accessible
- Safe for kids to use
When dipped in paint or food coloring, the fibers naturally spread pigment outward, creating beautiful gradients without needing advanced art skills.
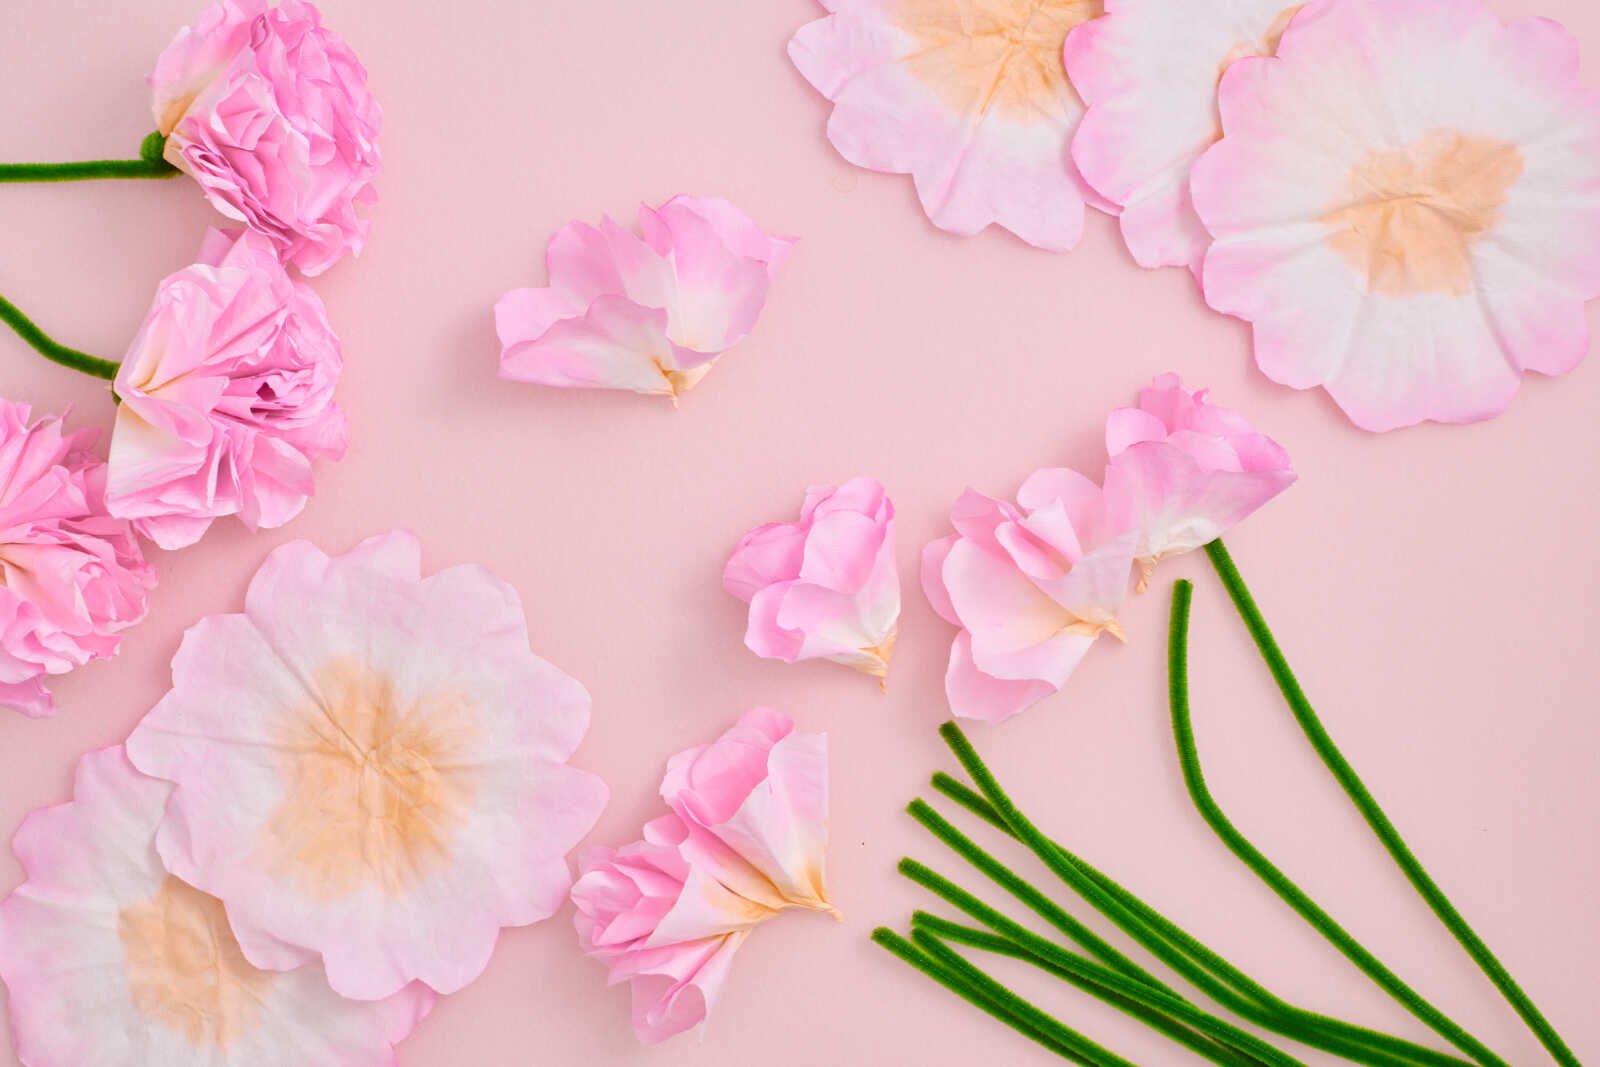
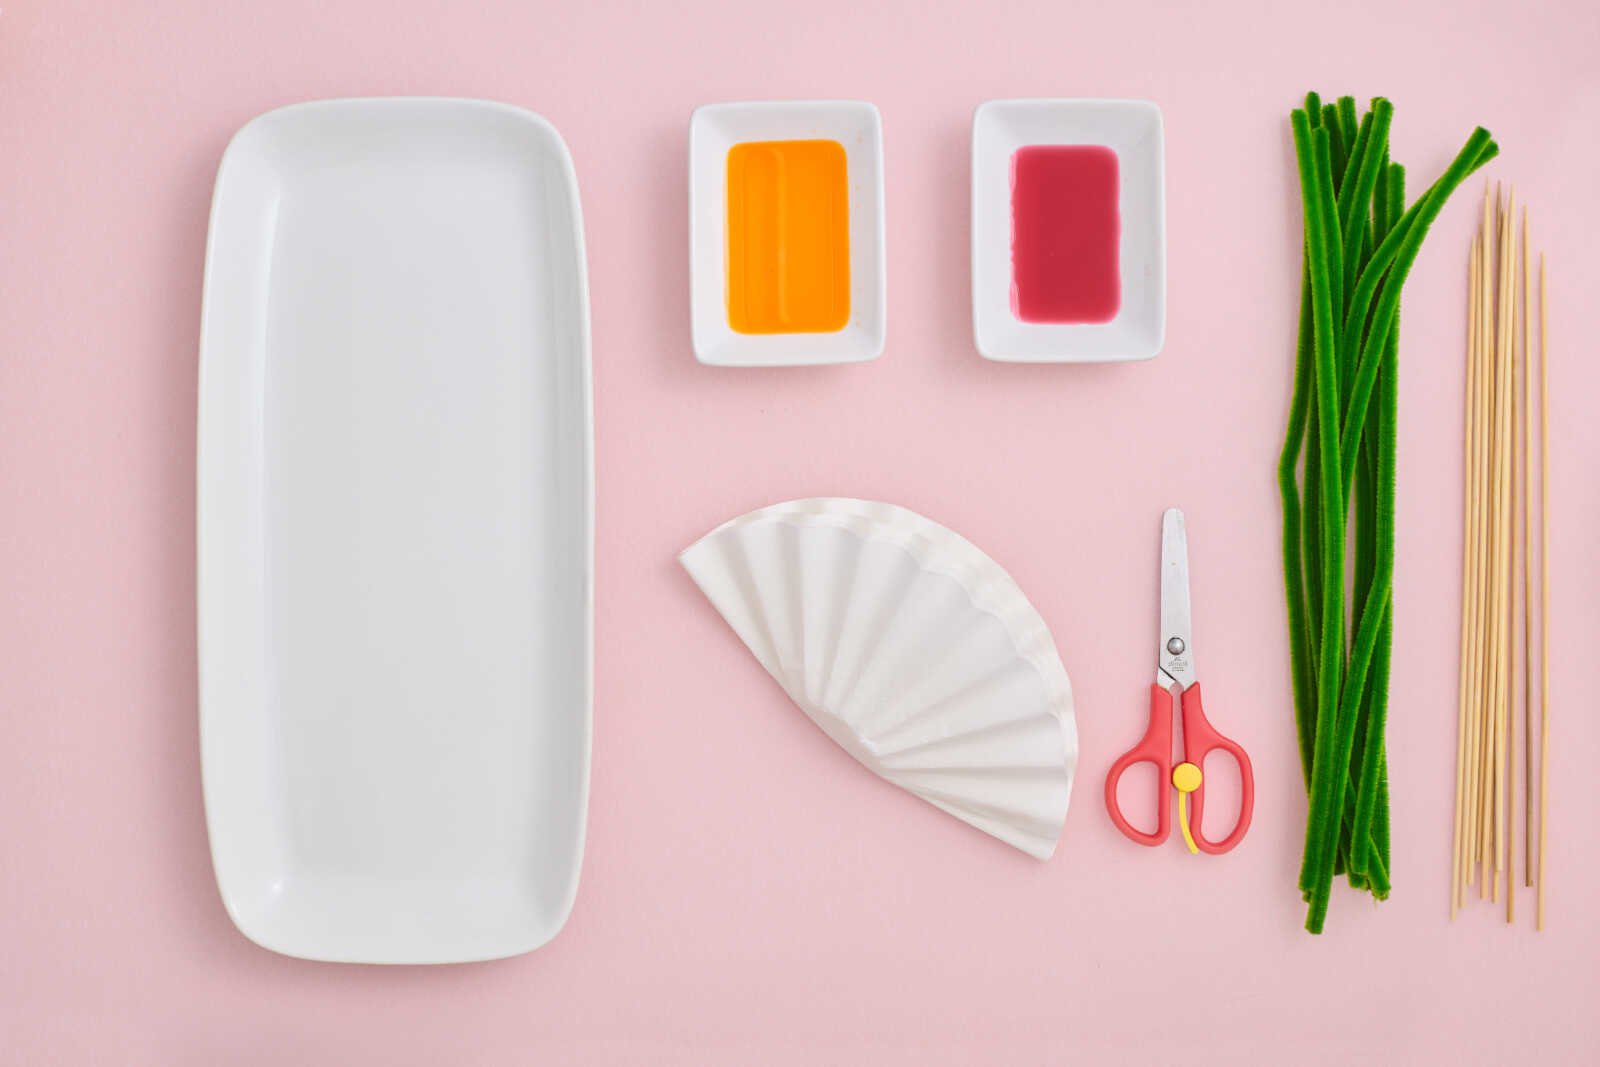
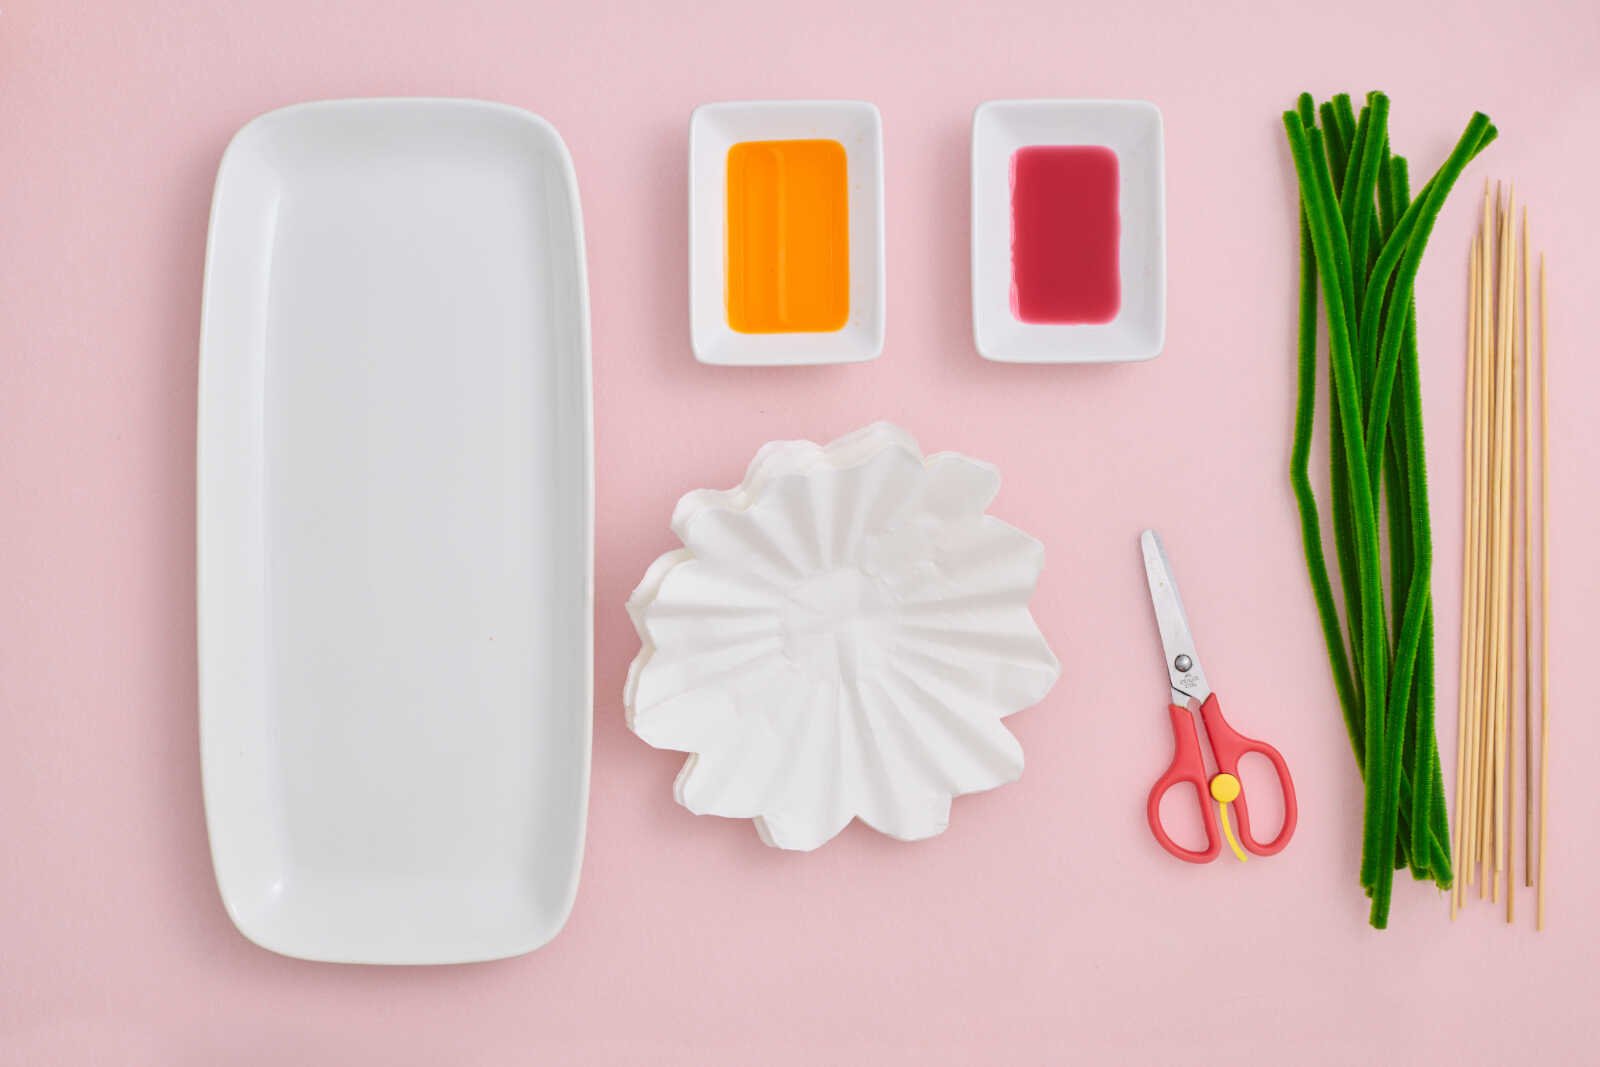
Step 1: Prepare the Coffee Filter Petals
This first step is where your flowers begin to take shape.
Instructions
- Take a stack of coffee filters (several at once).
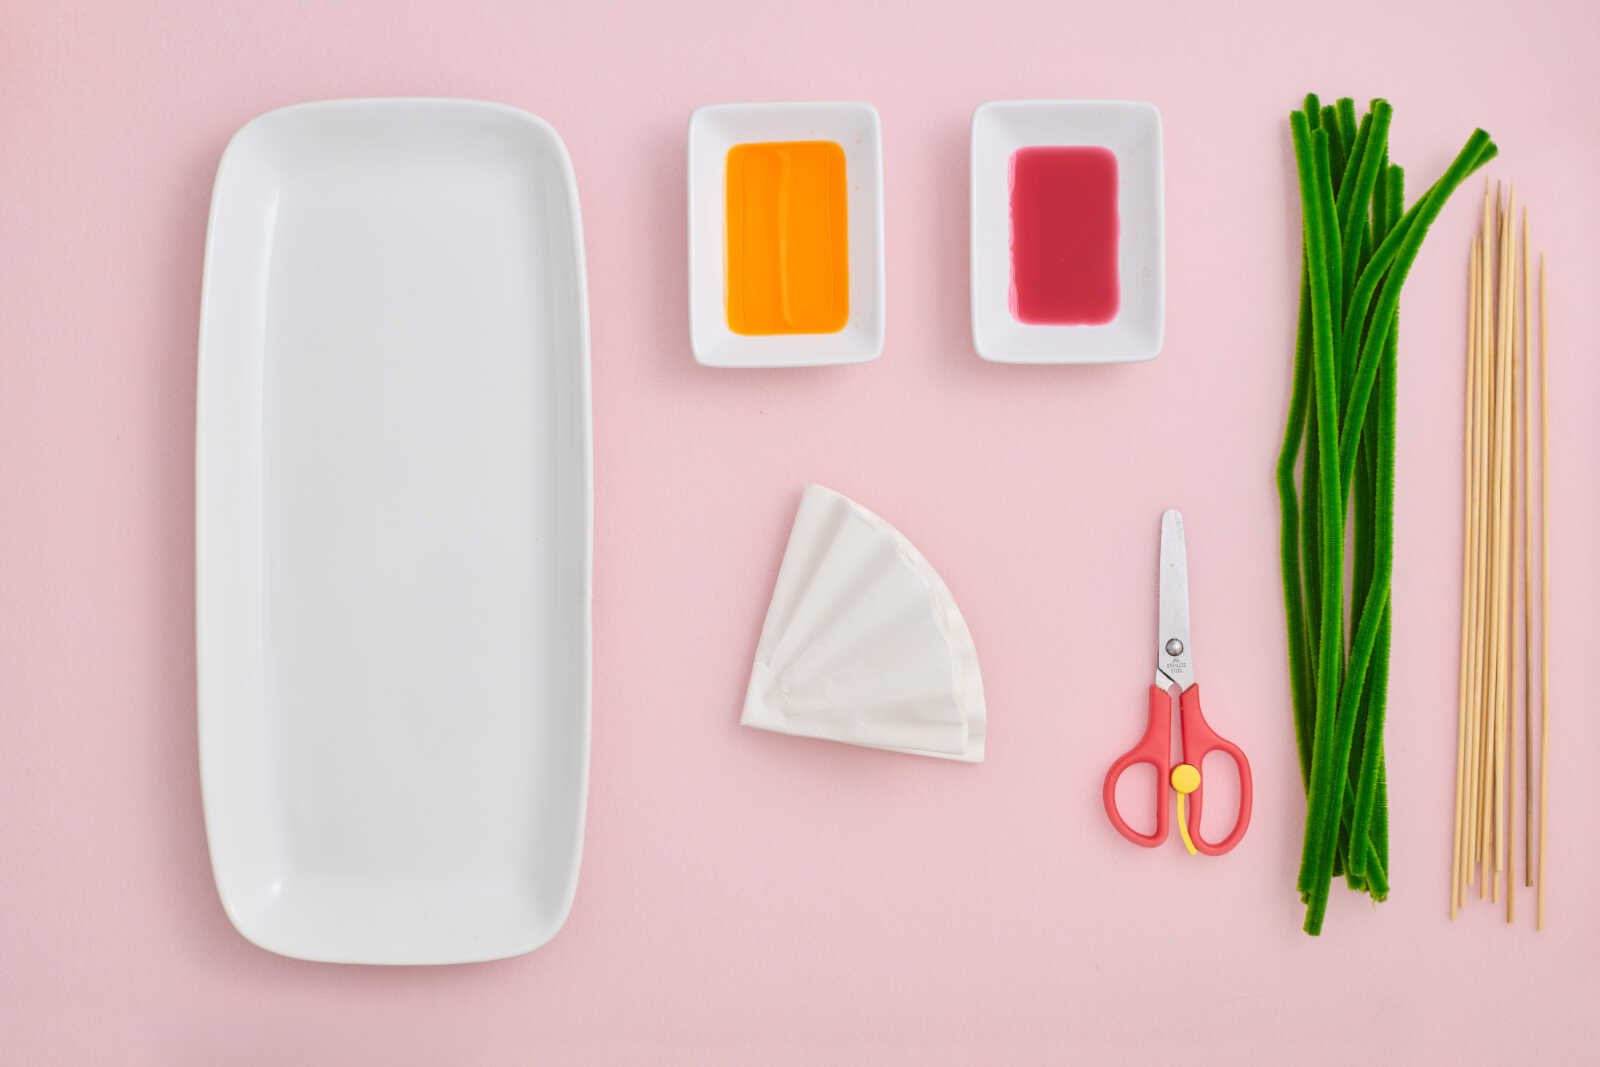
- Fold the whole stack in half.
- Fold in half again to form a wedge shape.
- Cut a wavy edge along the curved side to shape the petals.
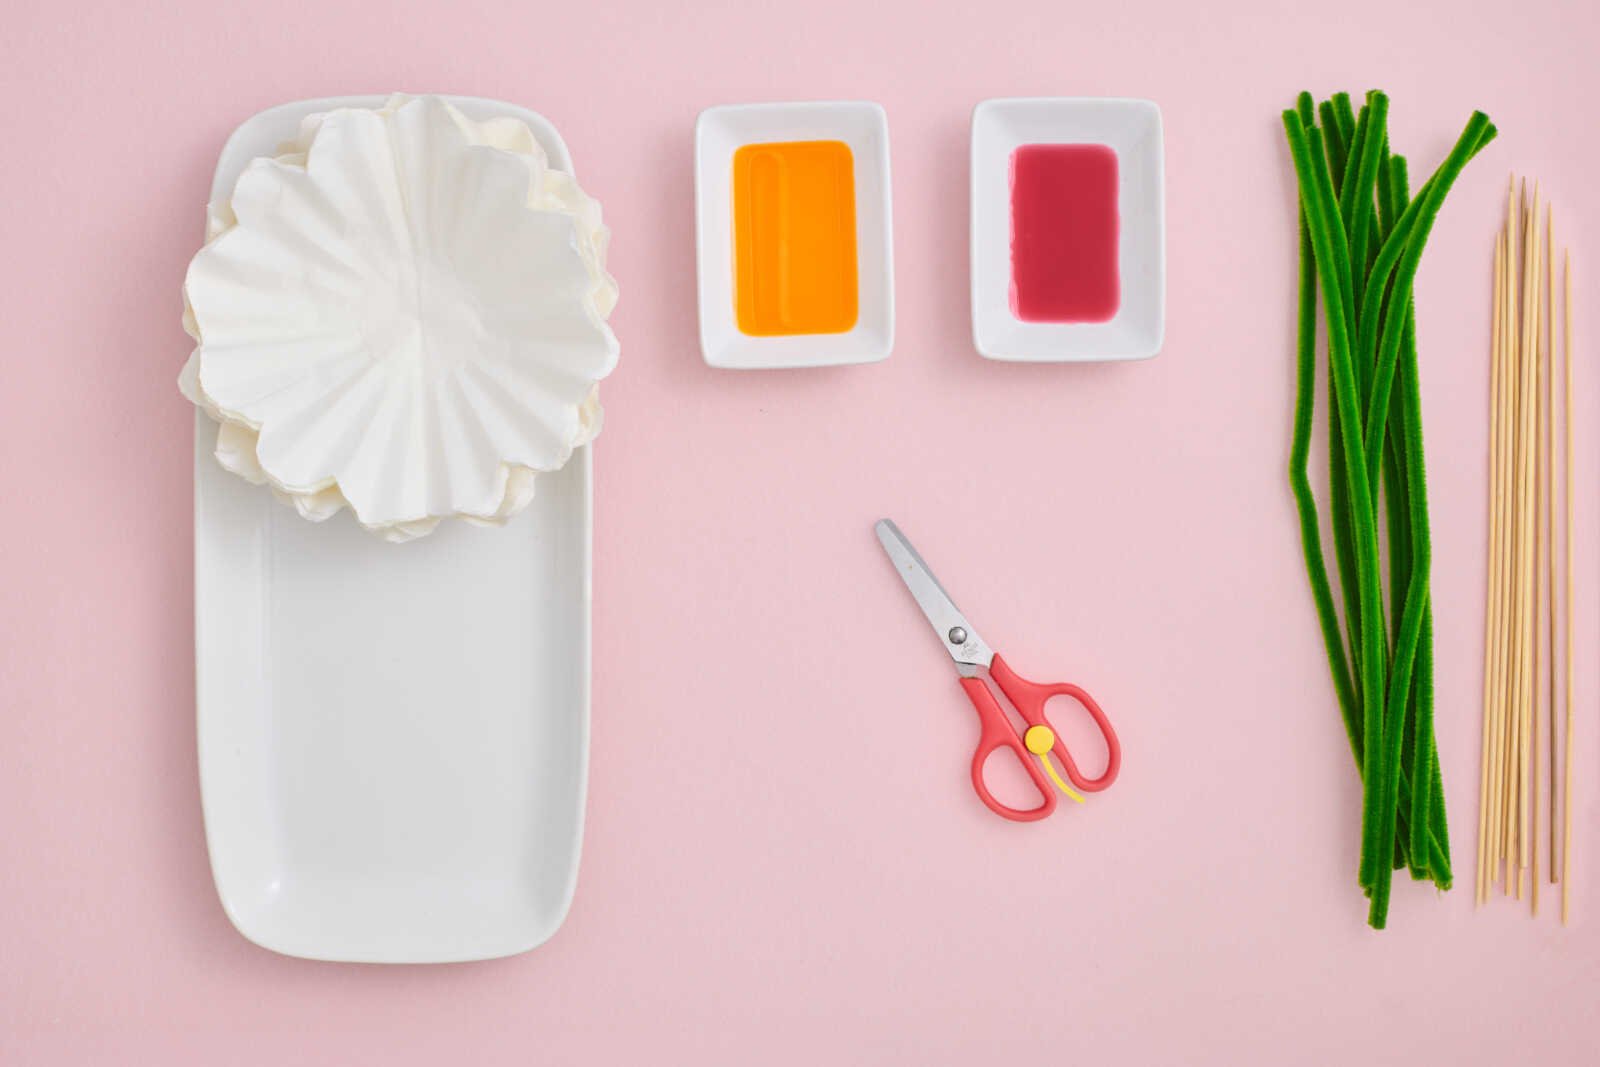
- Fully unfold all the filters — you’ll get multiple petal layers with decorative edges.
Tips for Success
- The more filters you stack, the fuller your flower will be
- Try different cuts (zig-zag, scalloped, rounded) for variety
- Don’t worry about perfection—organic shapes look more realistic
Content Creator Tip: This step is perfect for overhead “process shots” for Pinterest or blog tutorials.
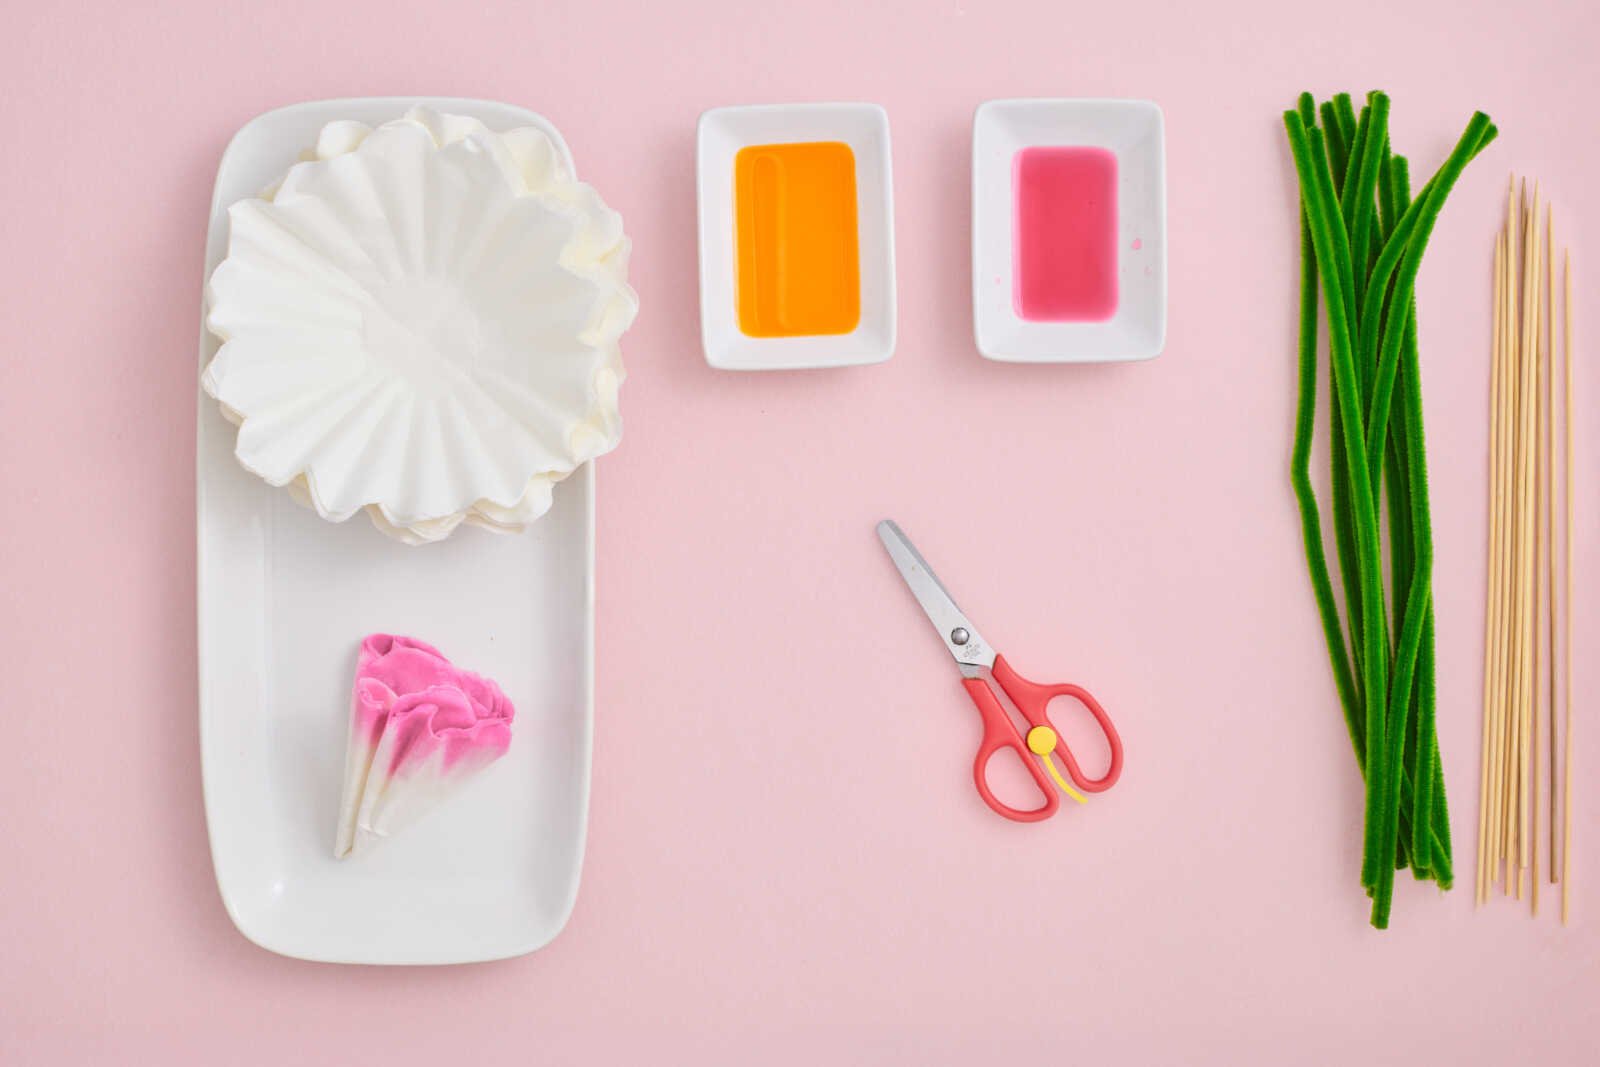
Step 2: Color the Petals
Here’s where the magic happens—color transforms simple filters into vibrant petals.
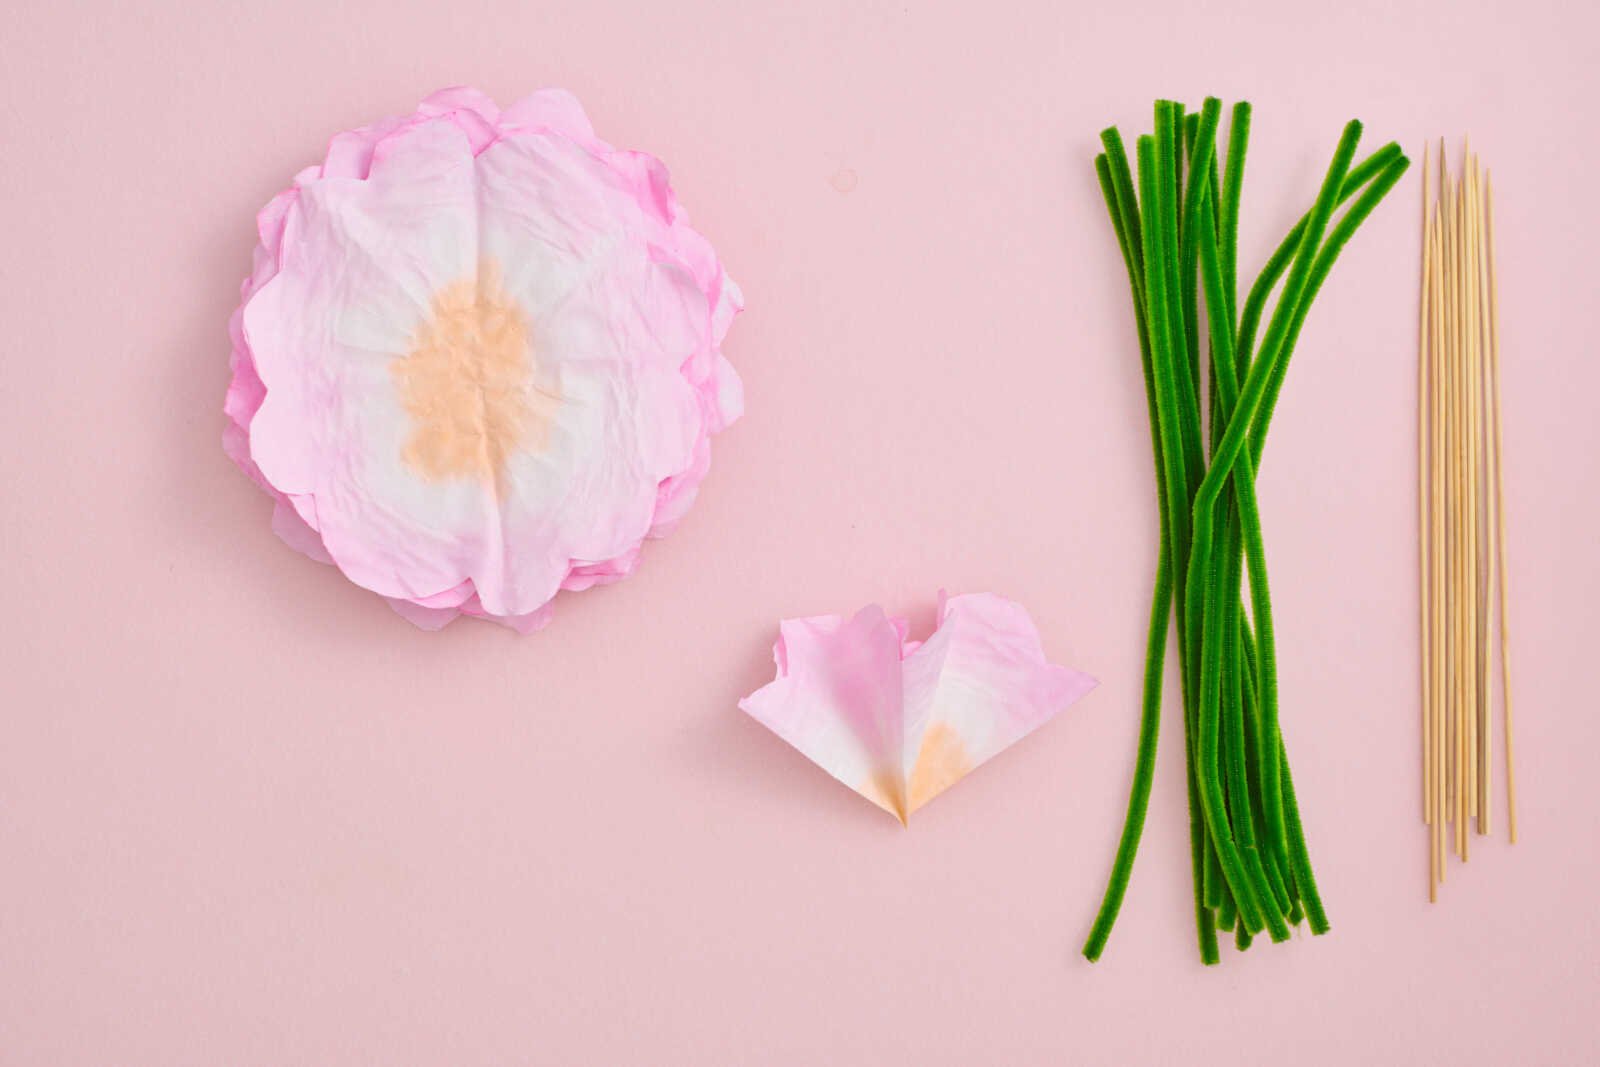
Instructions
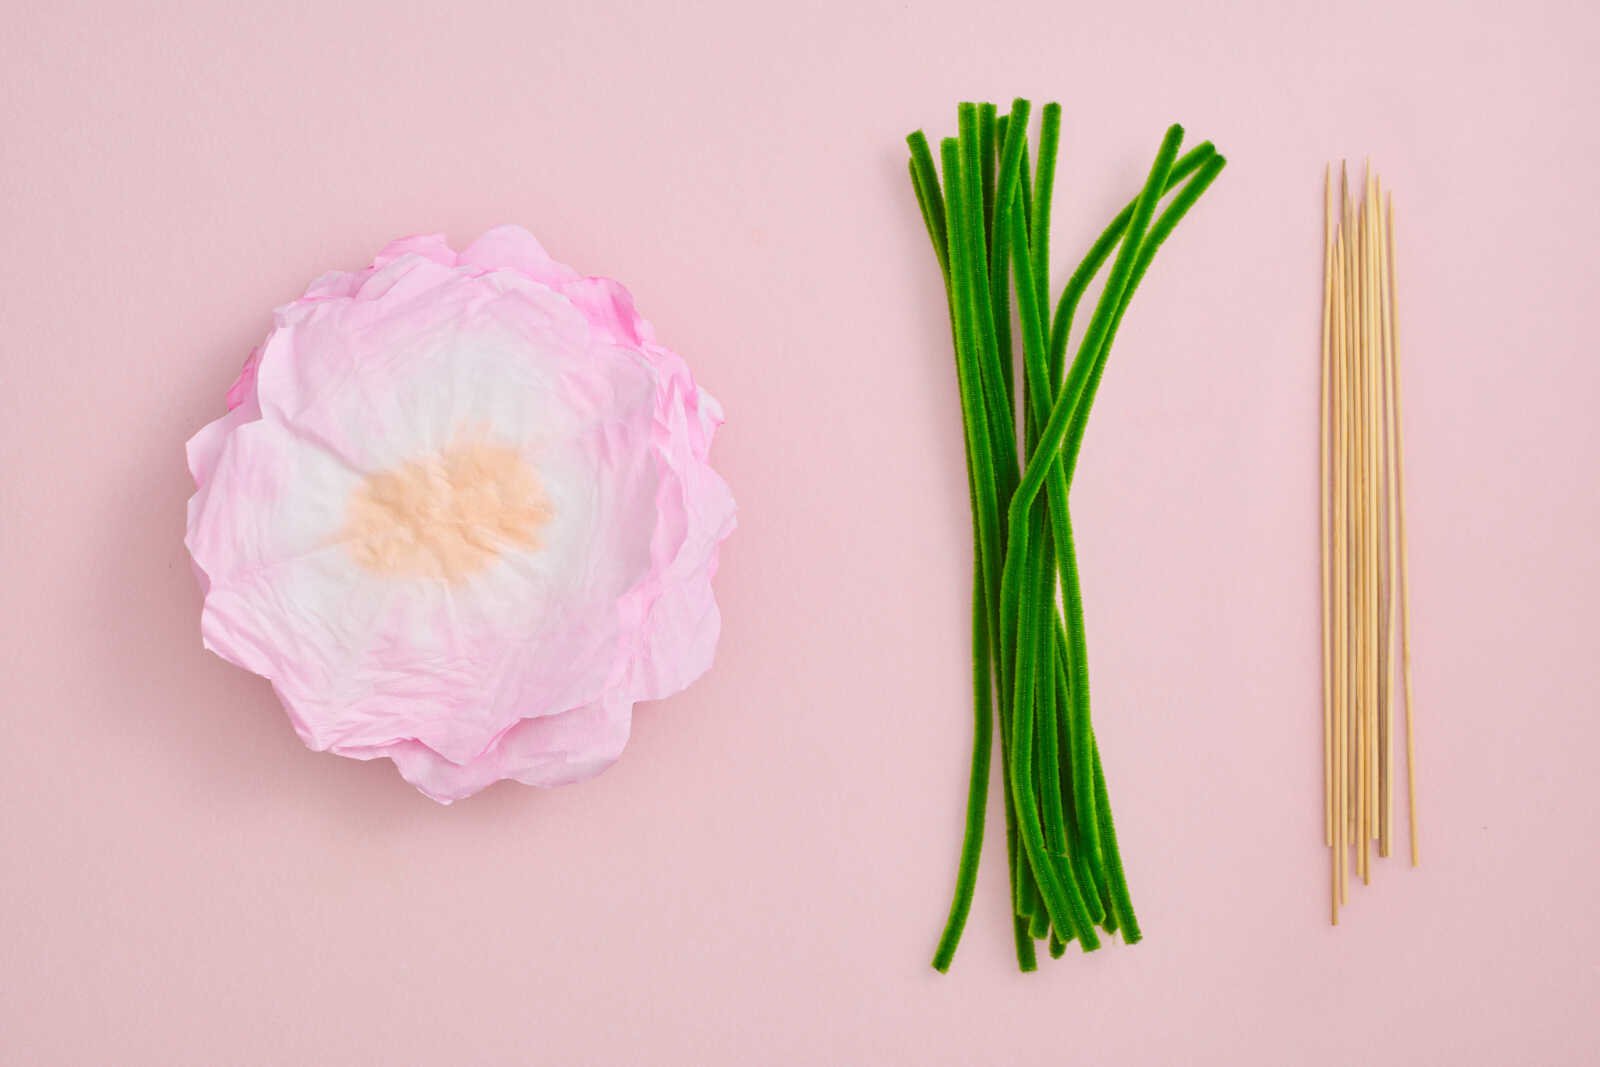
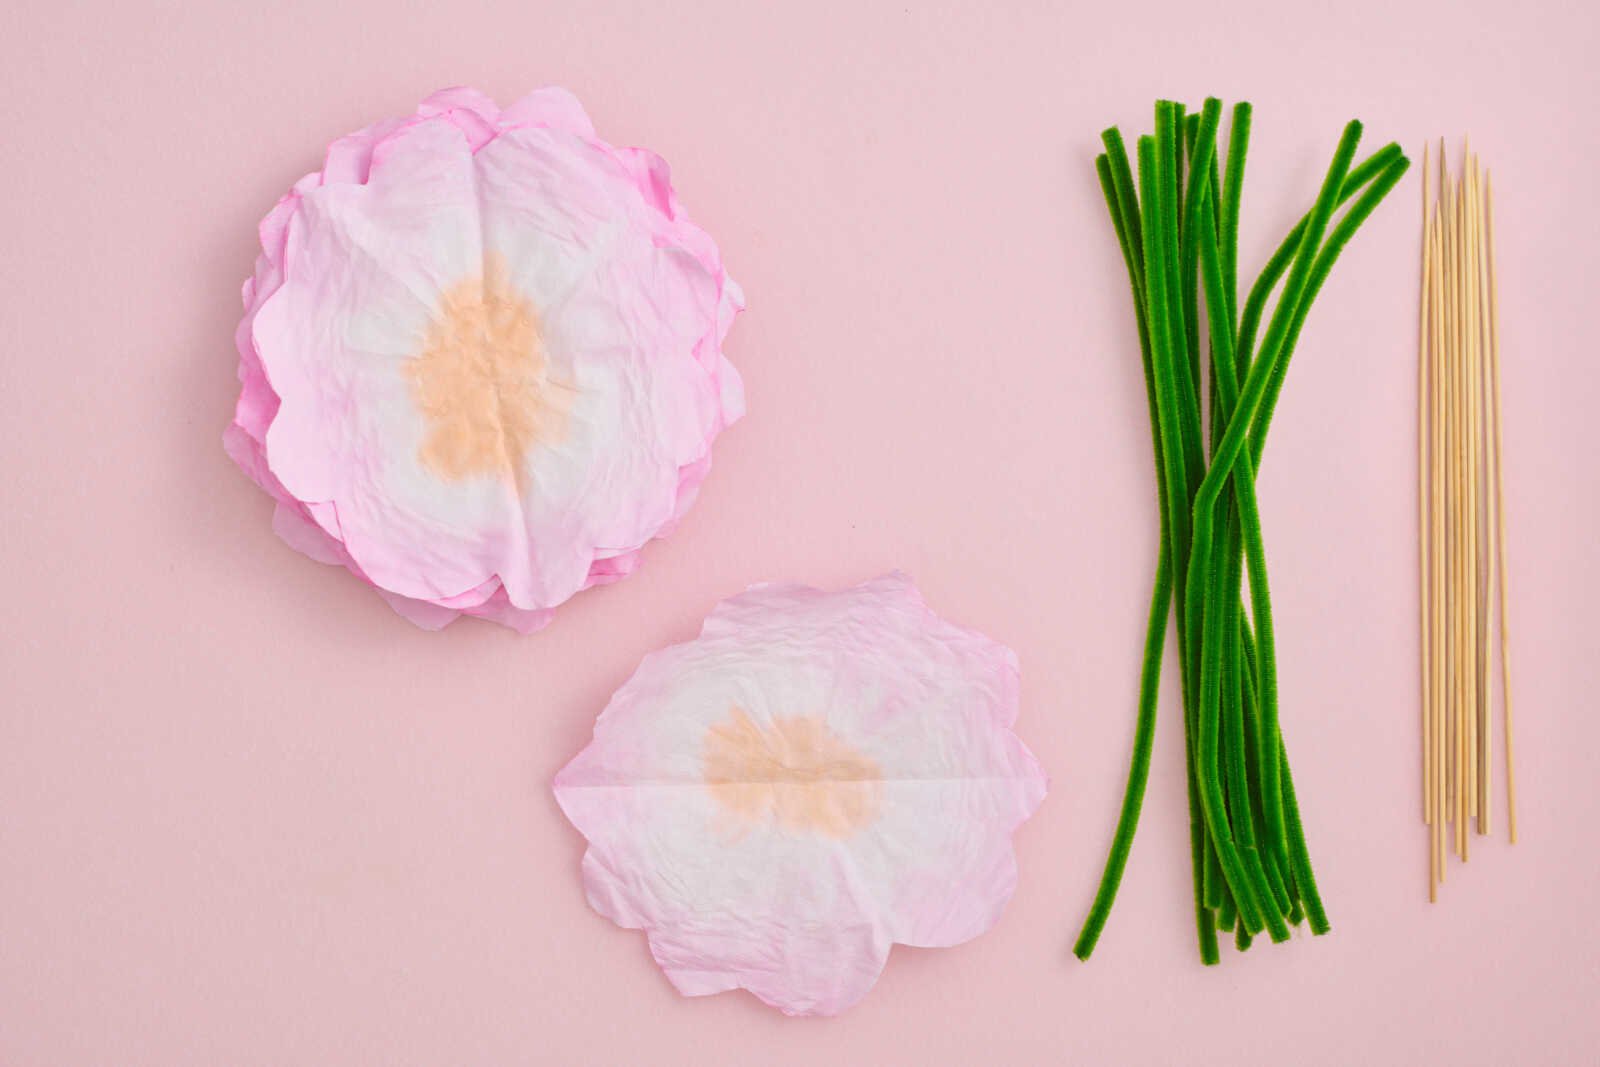
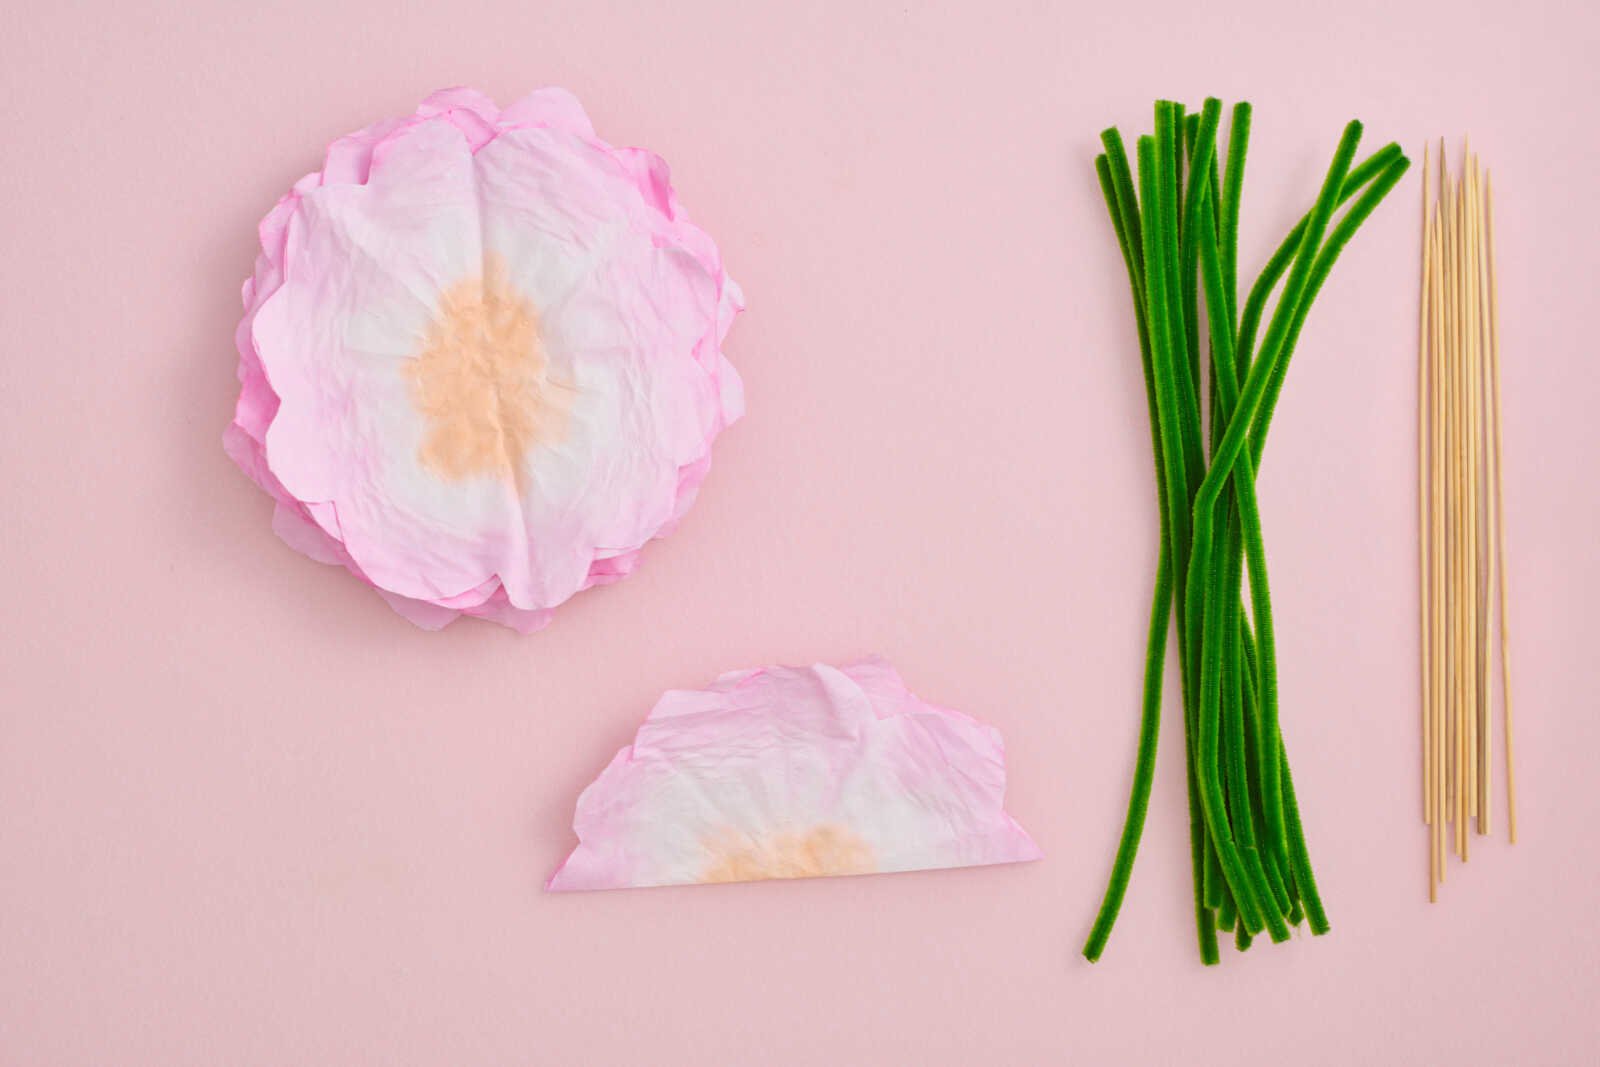
- Take one petal and fold it into quarters.
- Dip the outer edge into pink paint.
- Dip the tip into yellow paint.
- Repeat with all petals.
- Open the petals and let them dry completely.
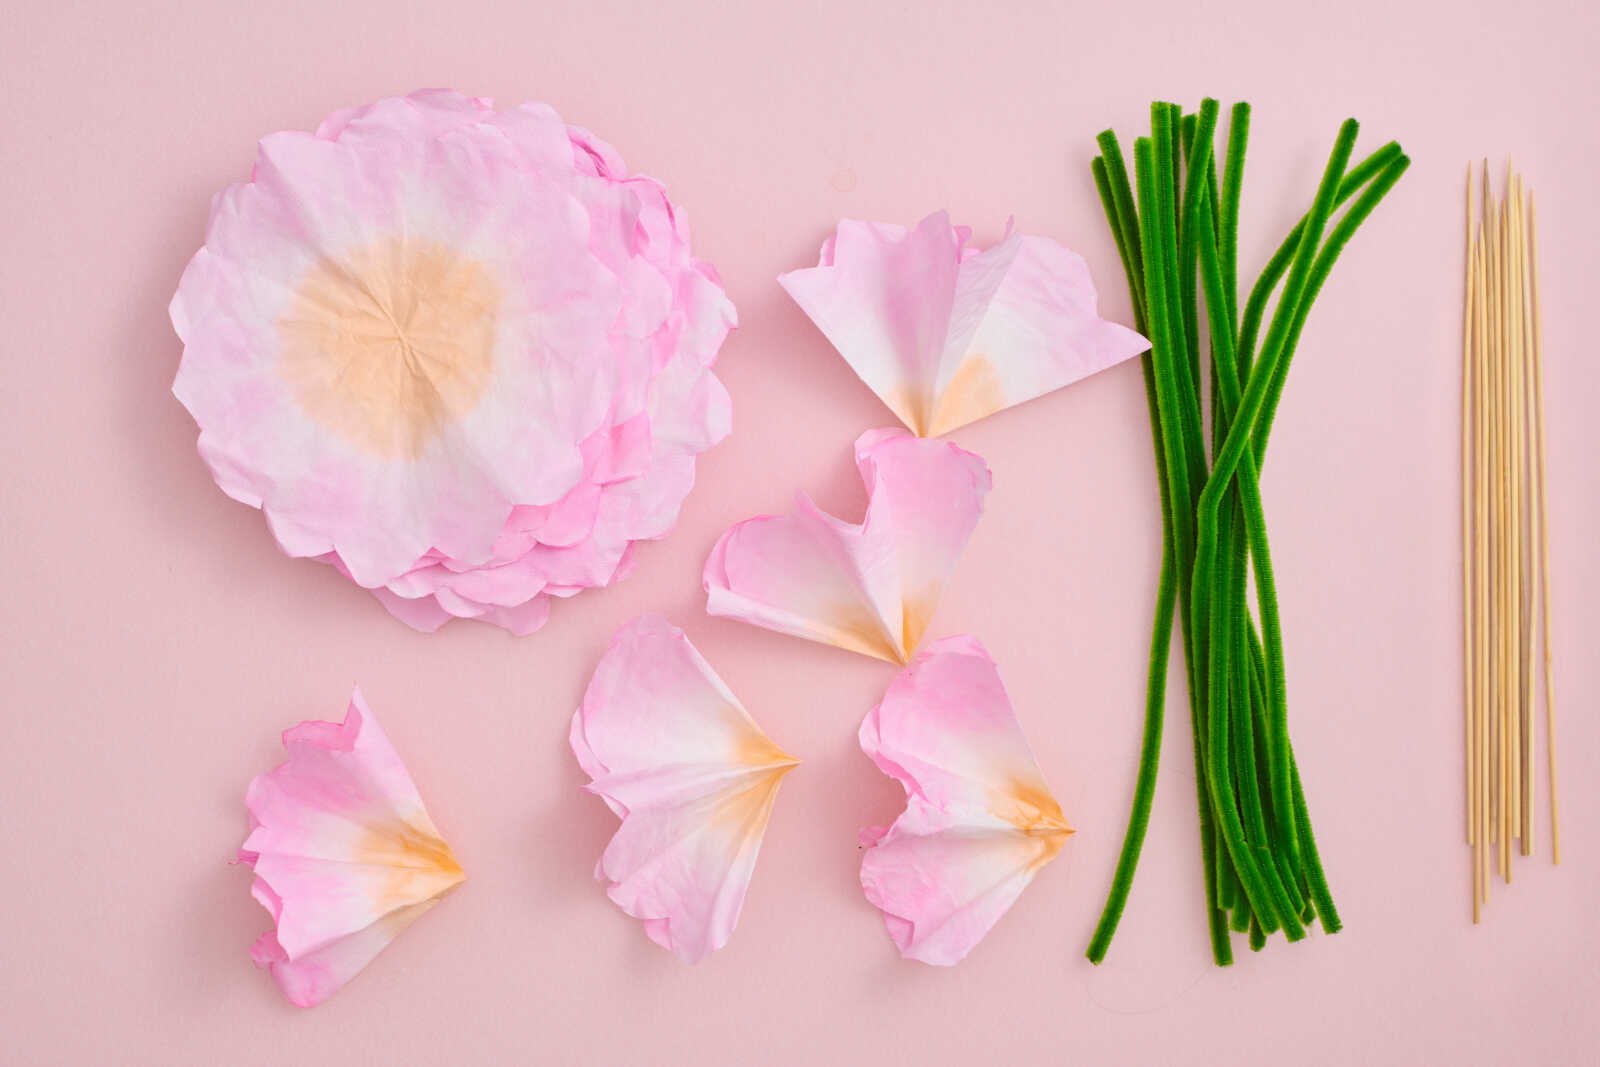
- Once dry, fold all petals into quarters again for the next step.
Tips for Beautiful Results
- Use shallow dishes so kids can dip easily
- Don’t oversaturate—light dips create softer blends
- Try complementary colors like:
- Pink + yellow (classic flower look)
- Blue + purple (cool-toned blooms)
- Orange + red (bold sunset vibes)
Pro Tip: Food coloring creates a softer watercolor effect, while paint gives more vibrant, bold colors.

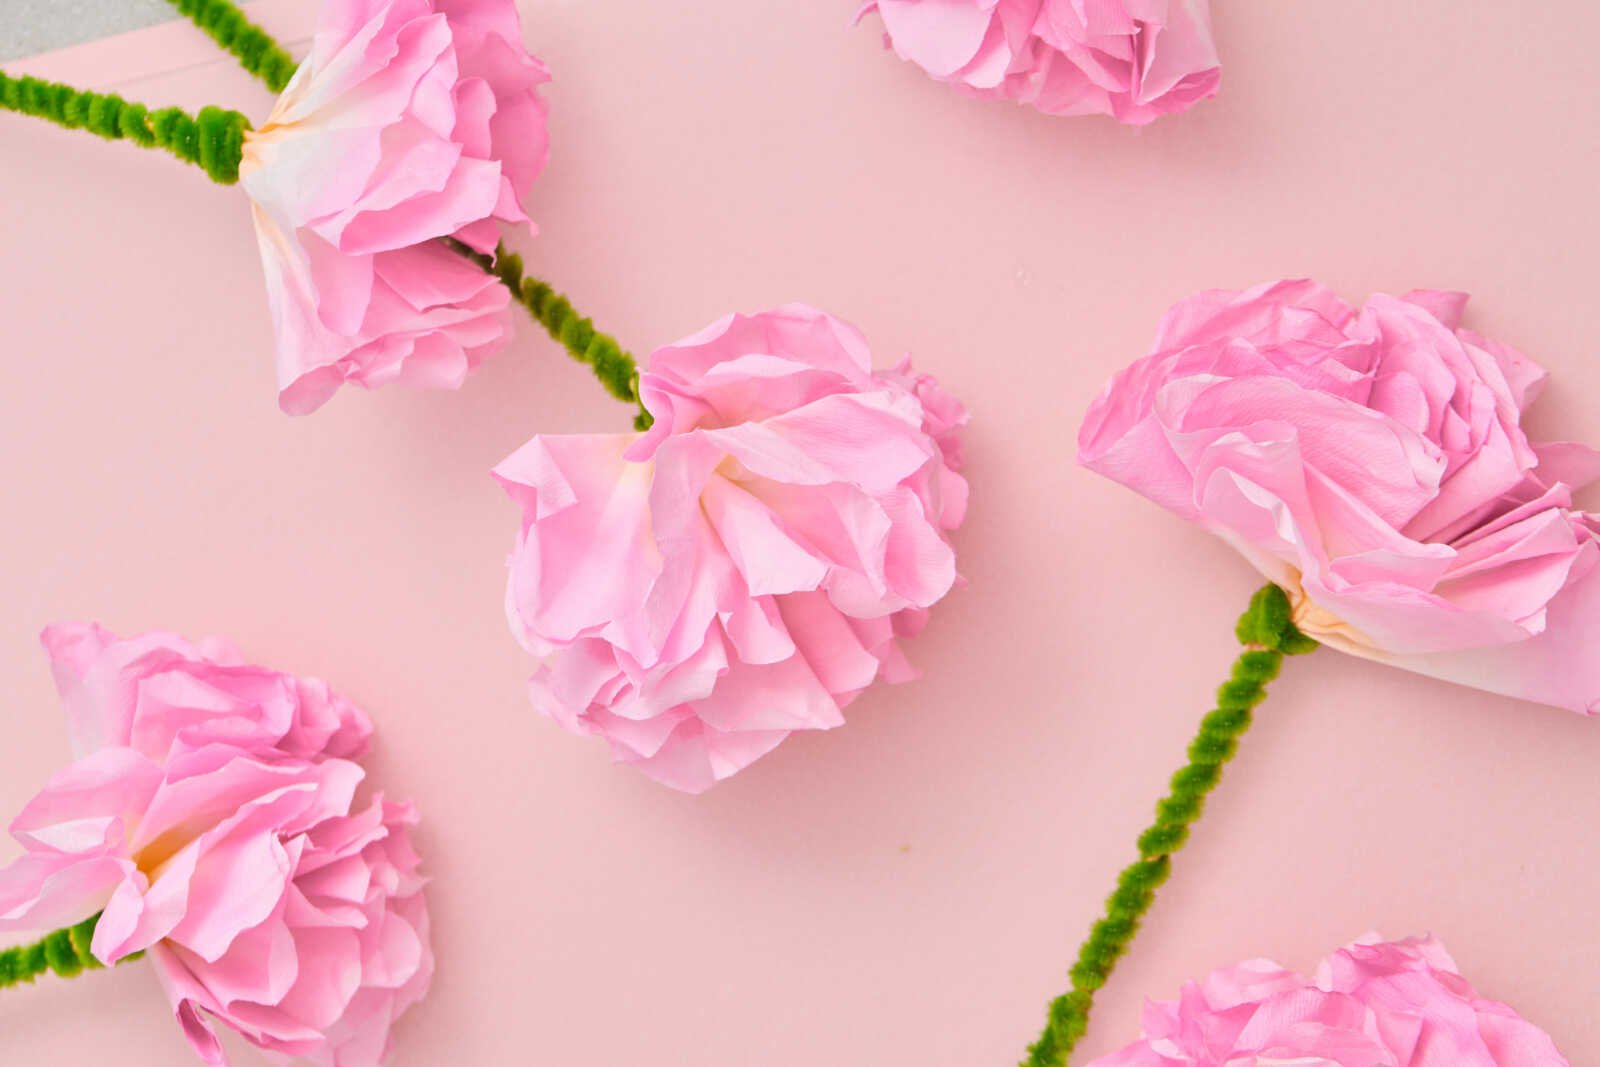
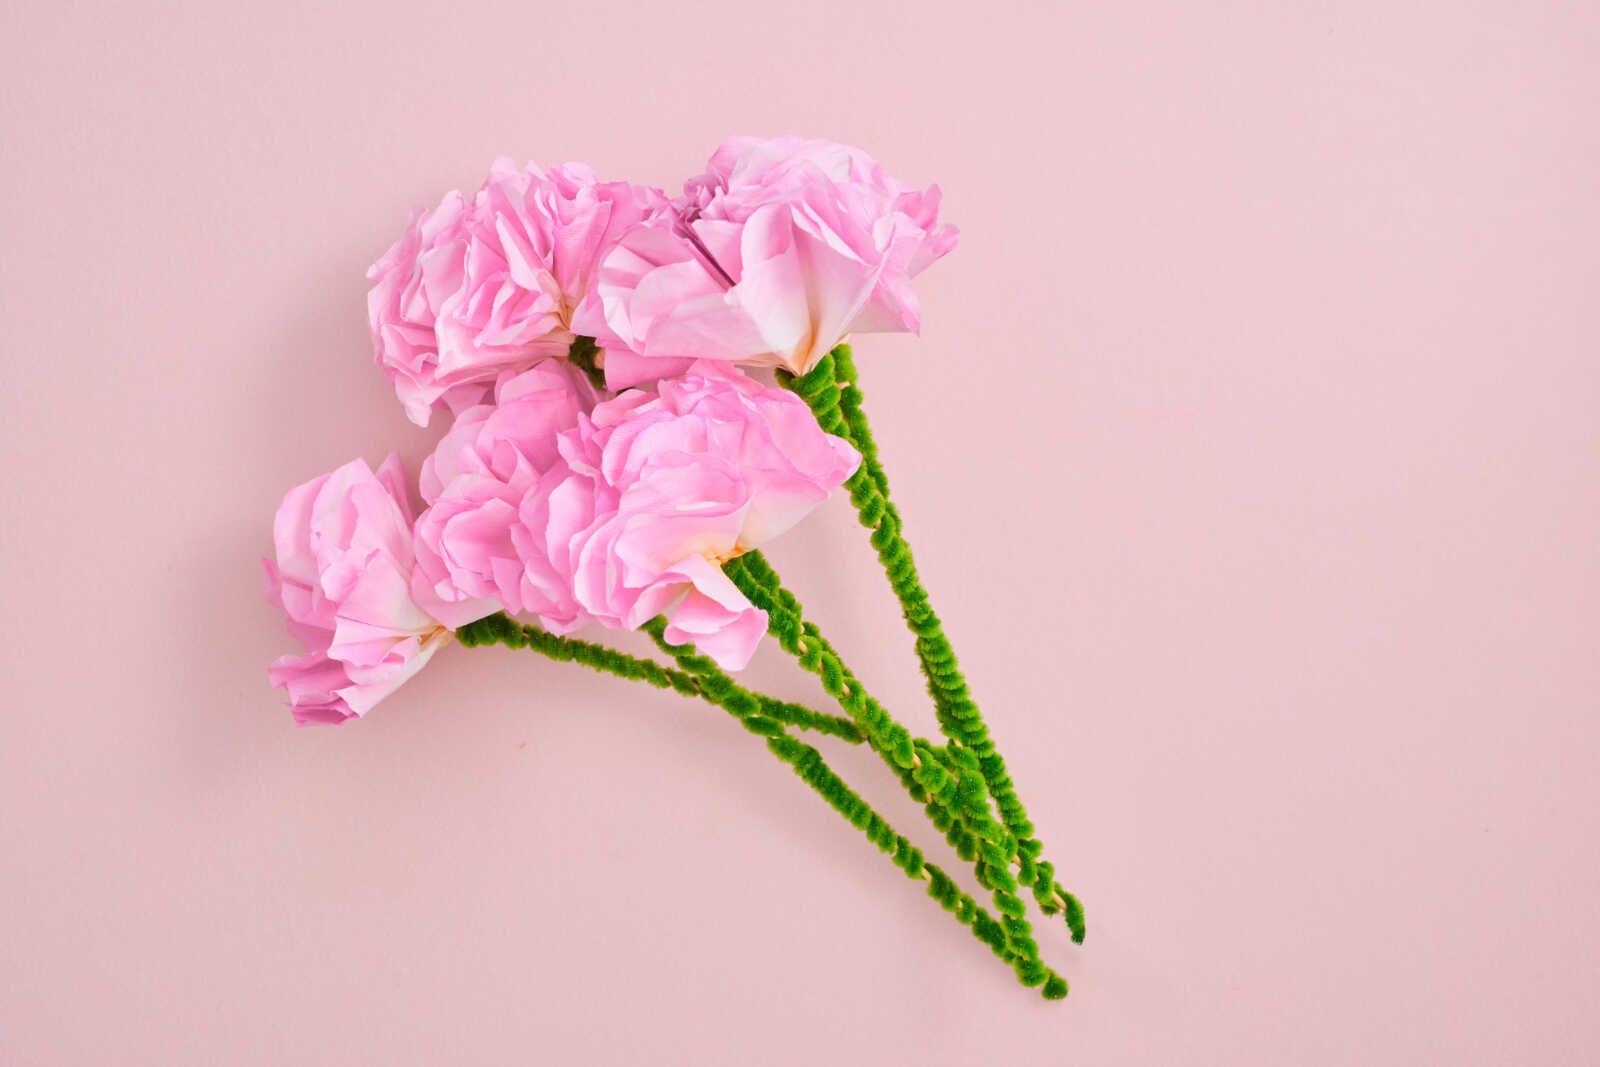
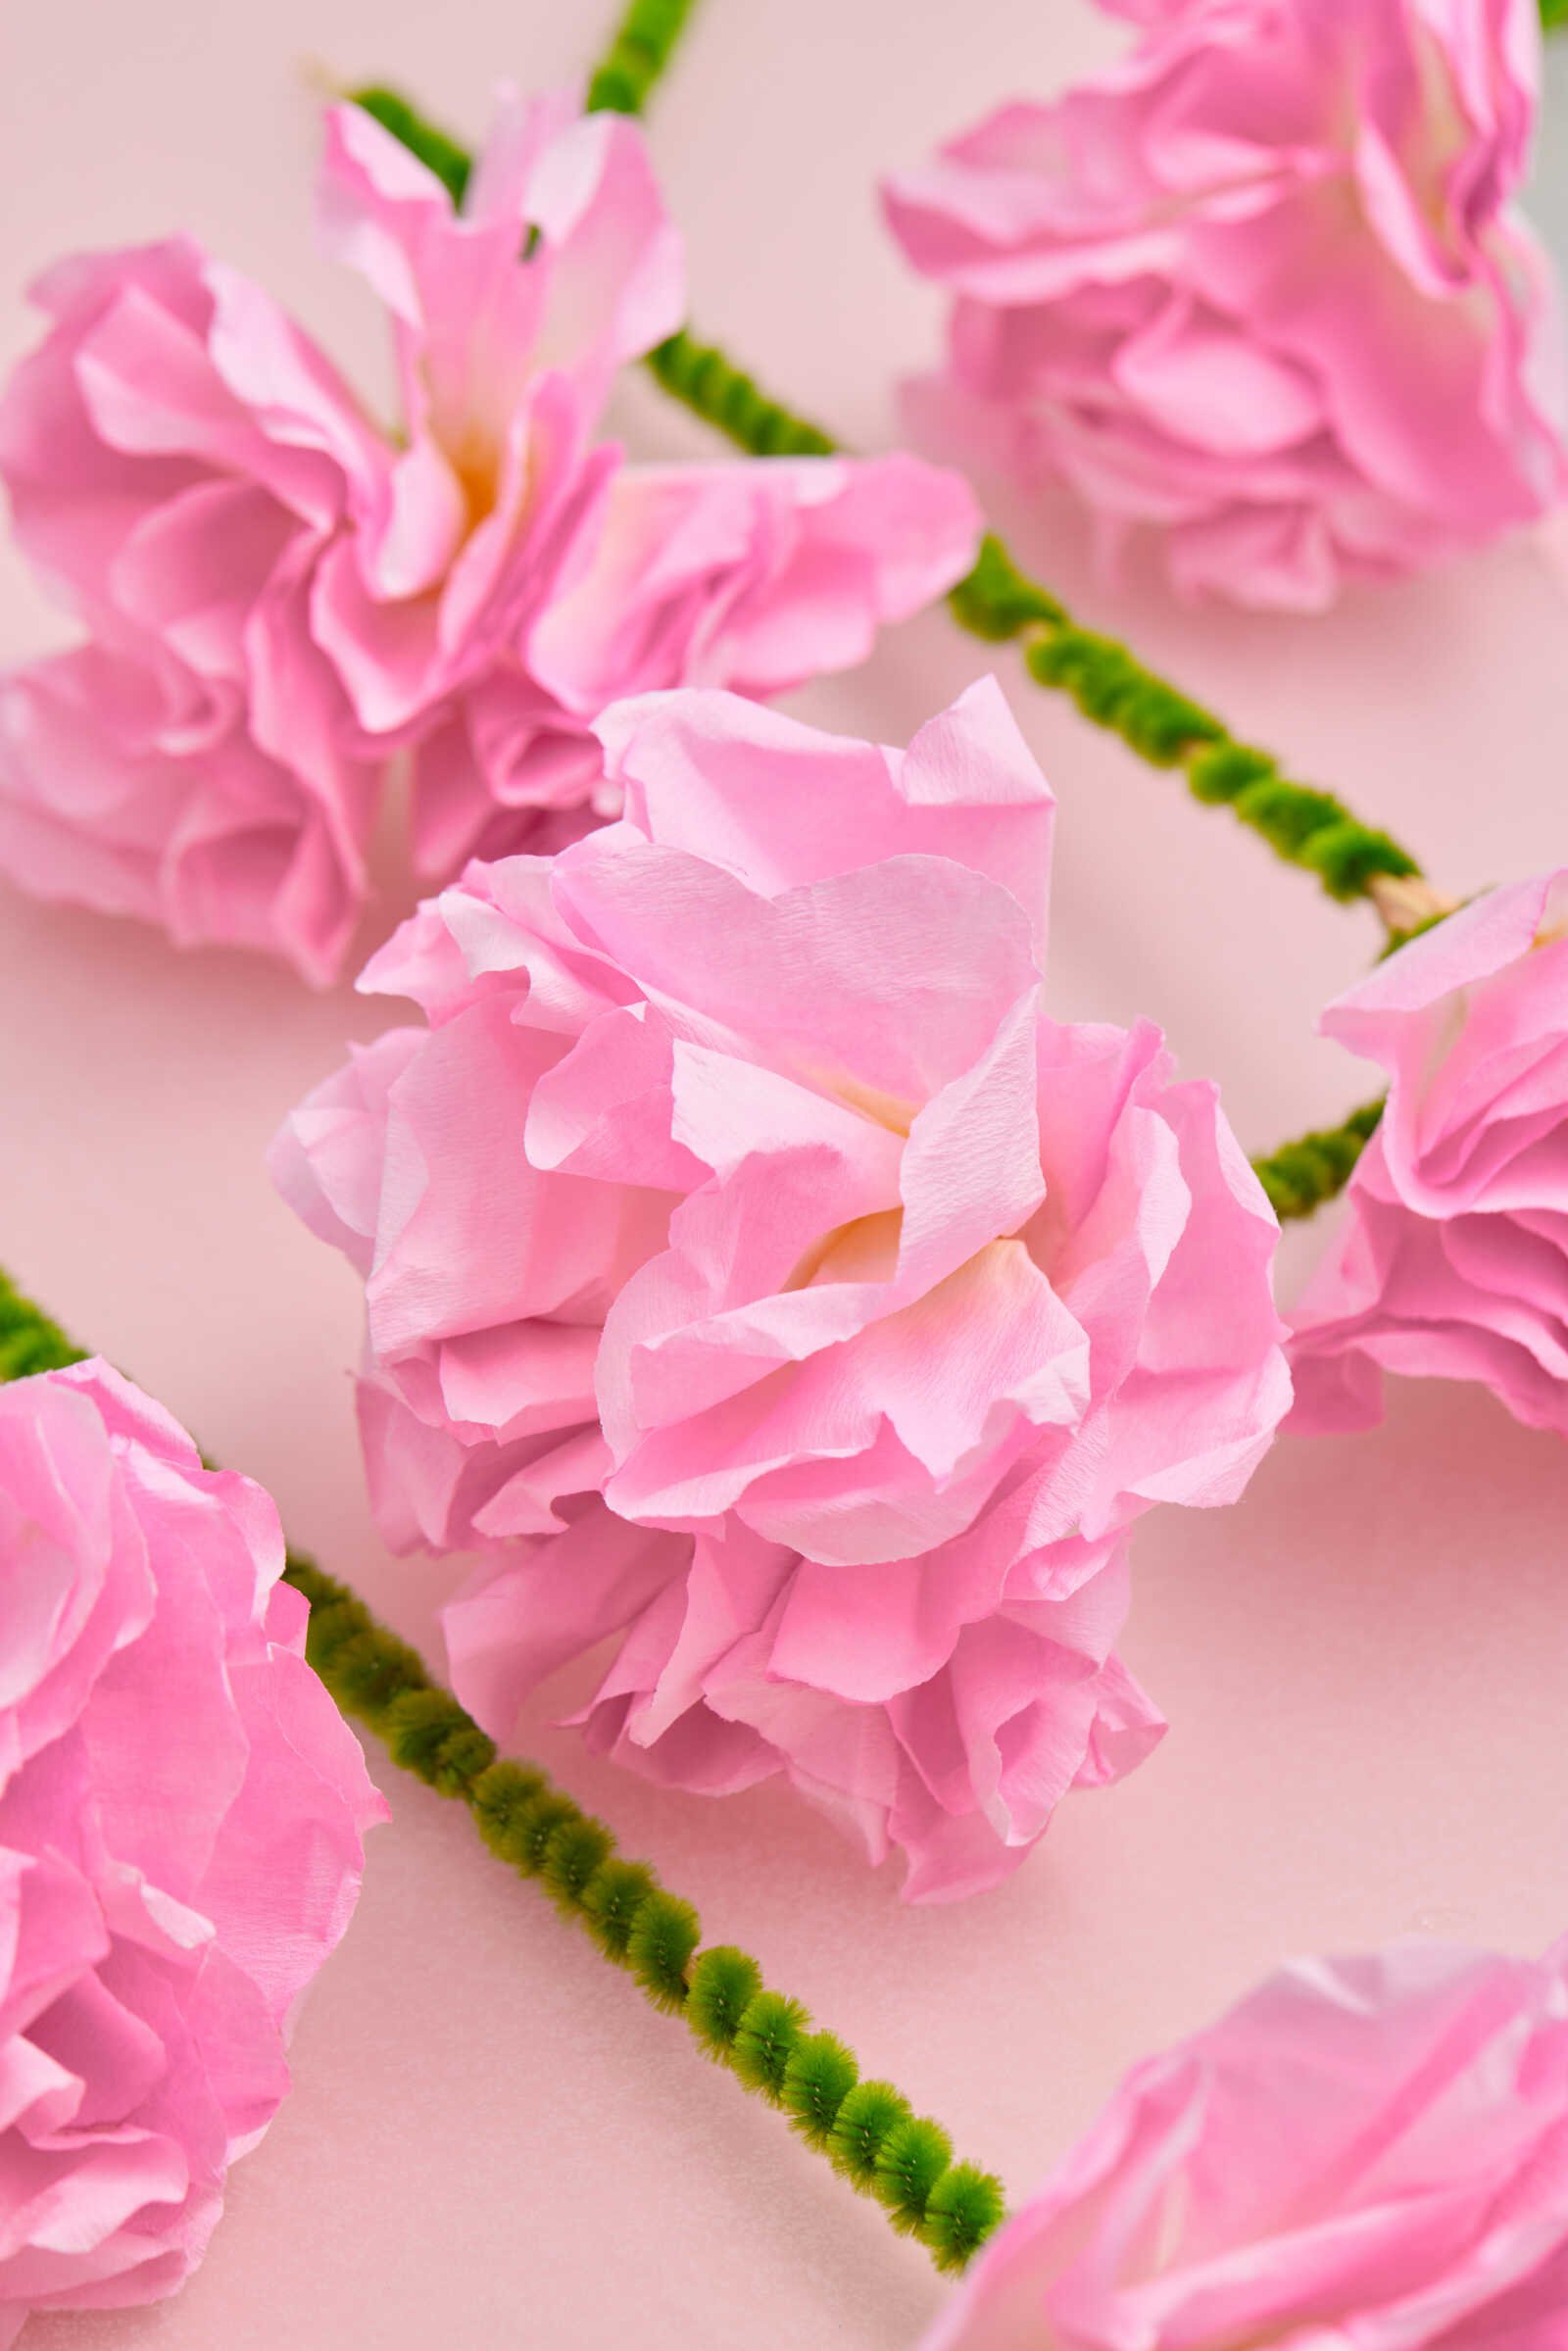
Final Step: Assemble the Flower
Now it’s time to bring everything together into a beautiful flower.
Instructions
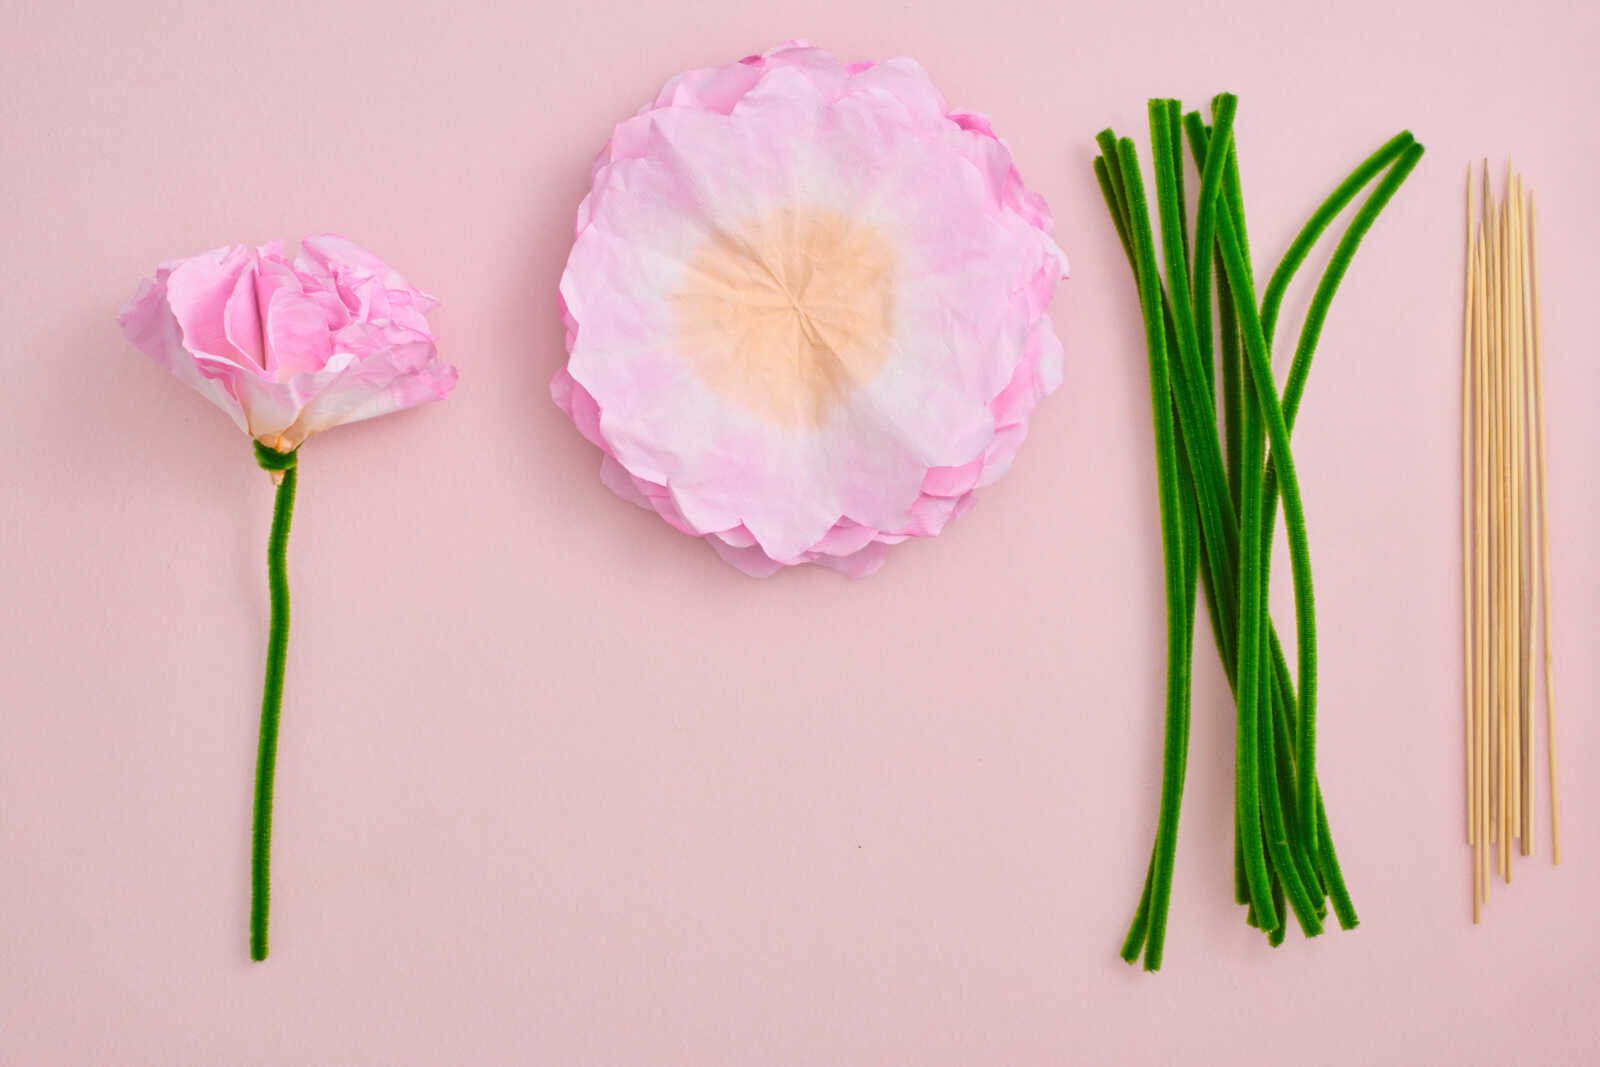
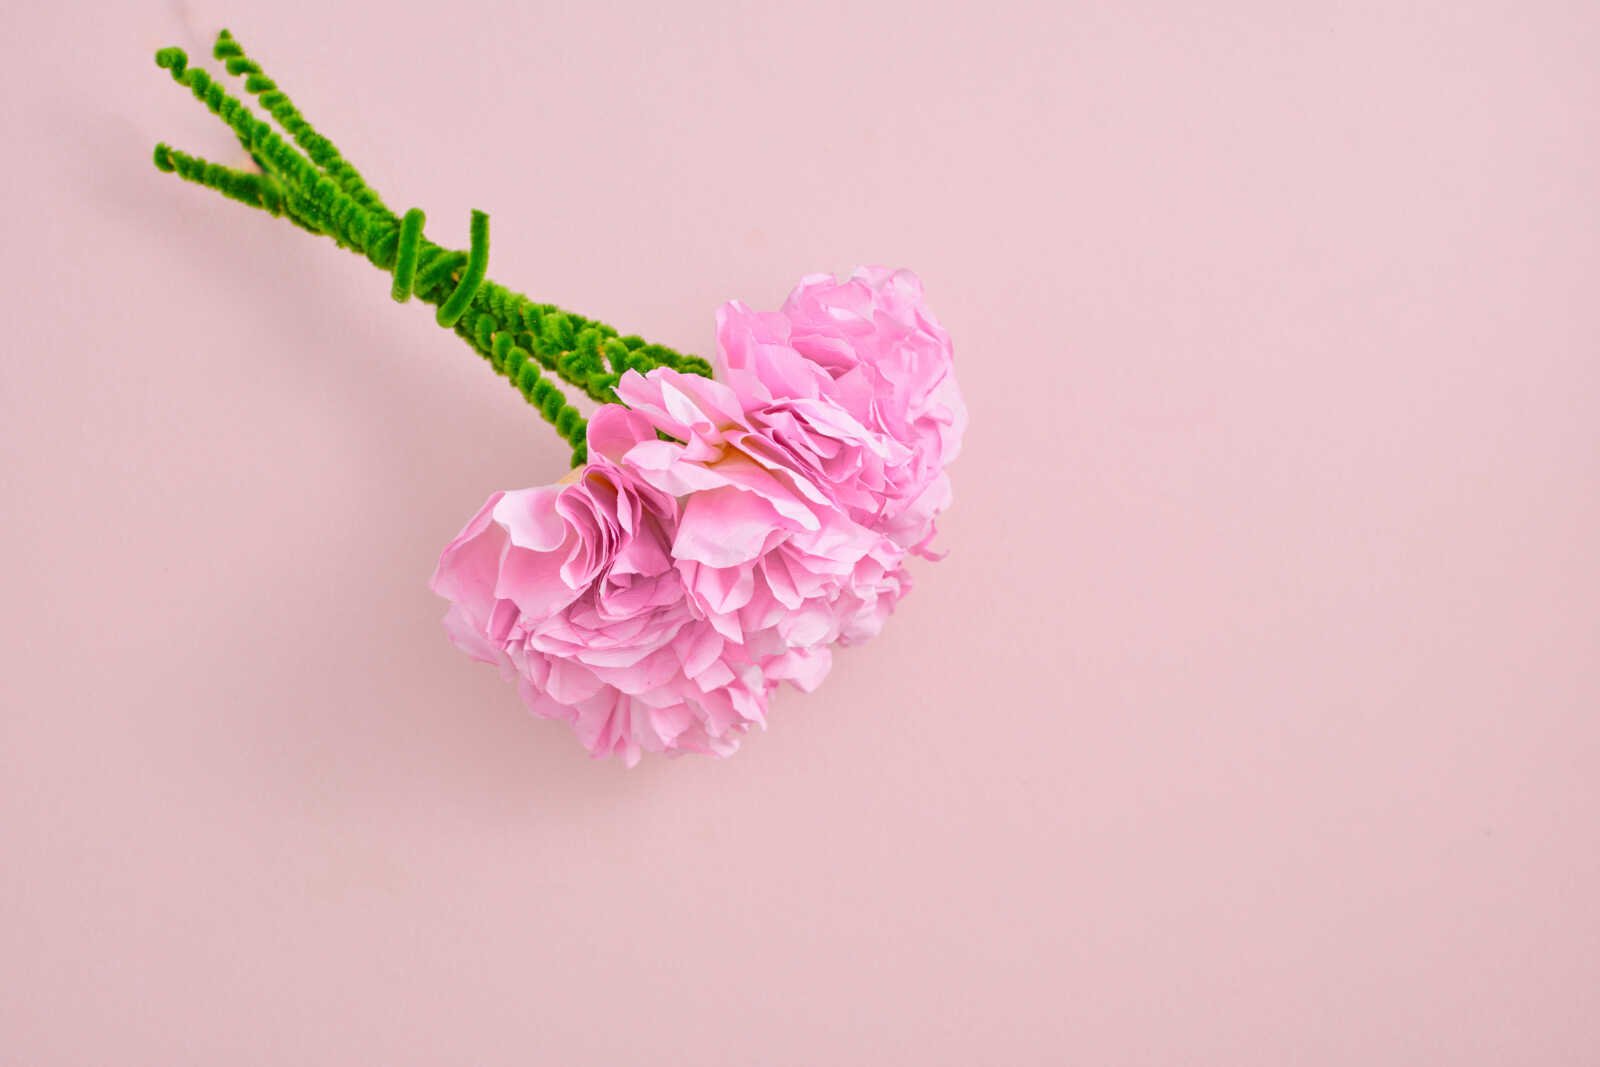
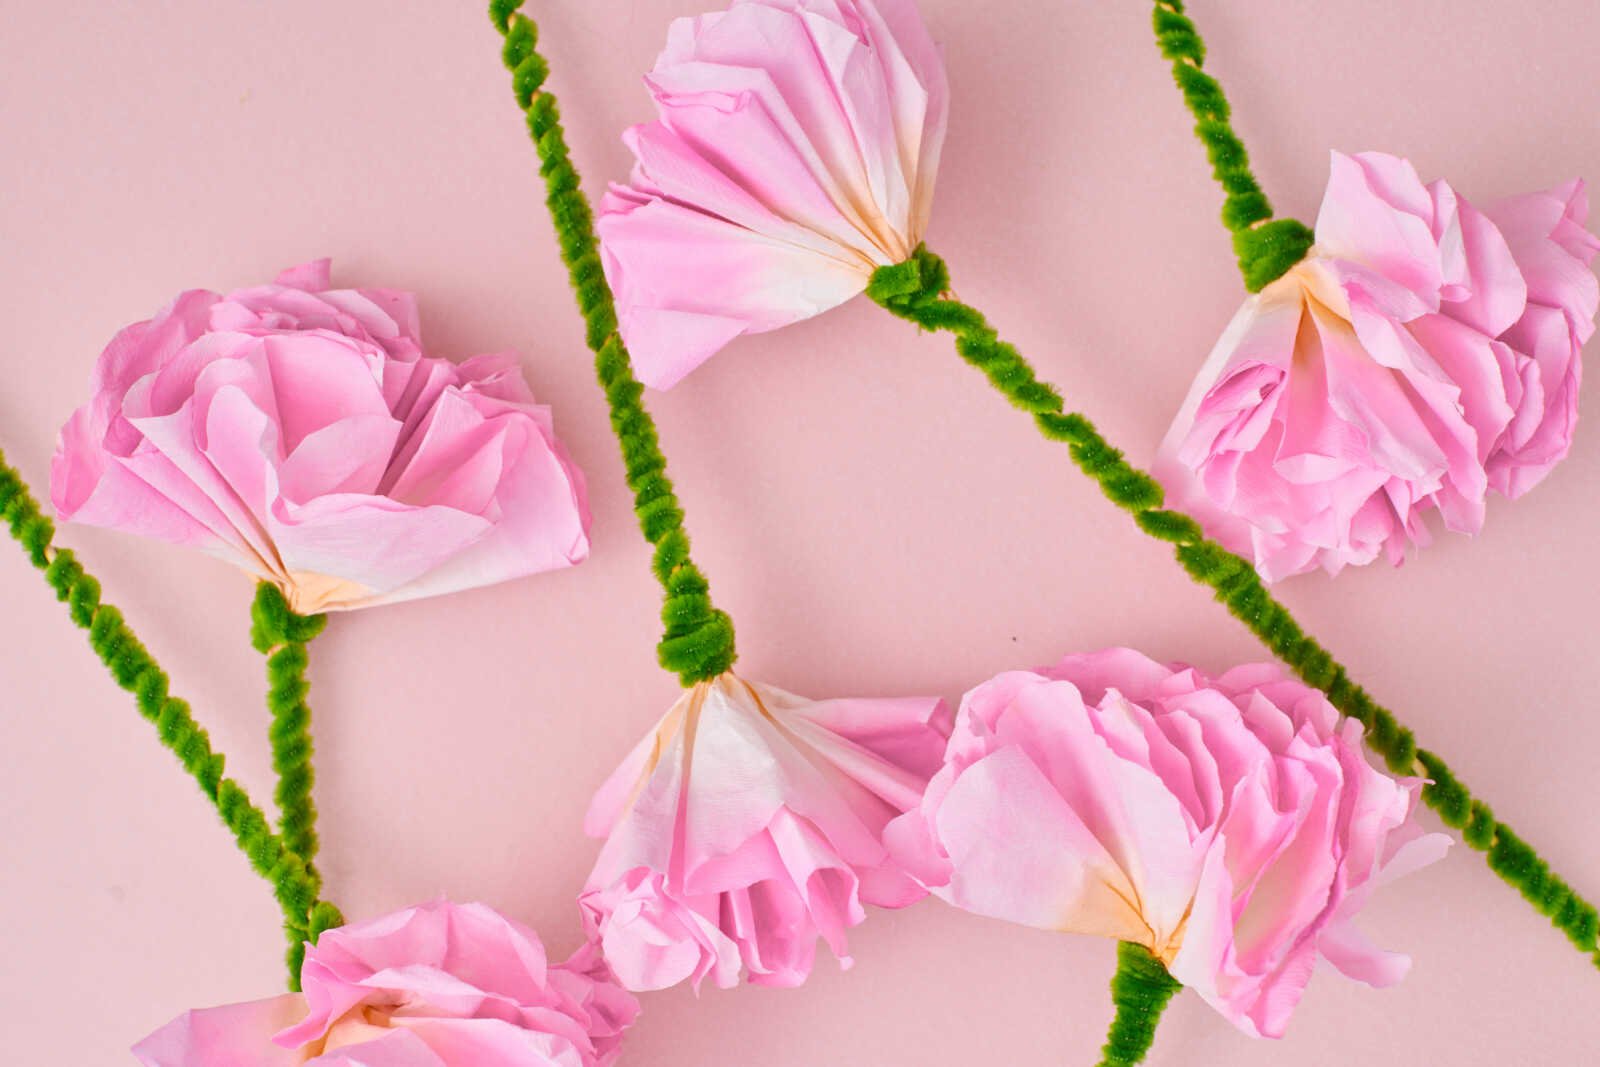
- Group several folded petals together at the base.
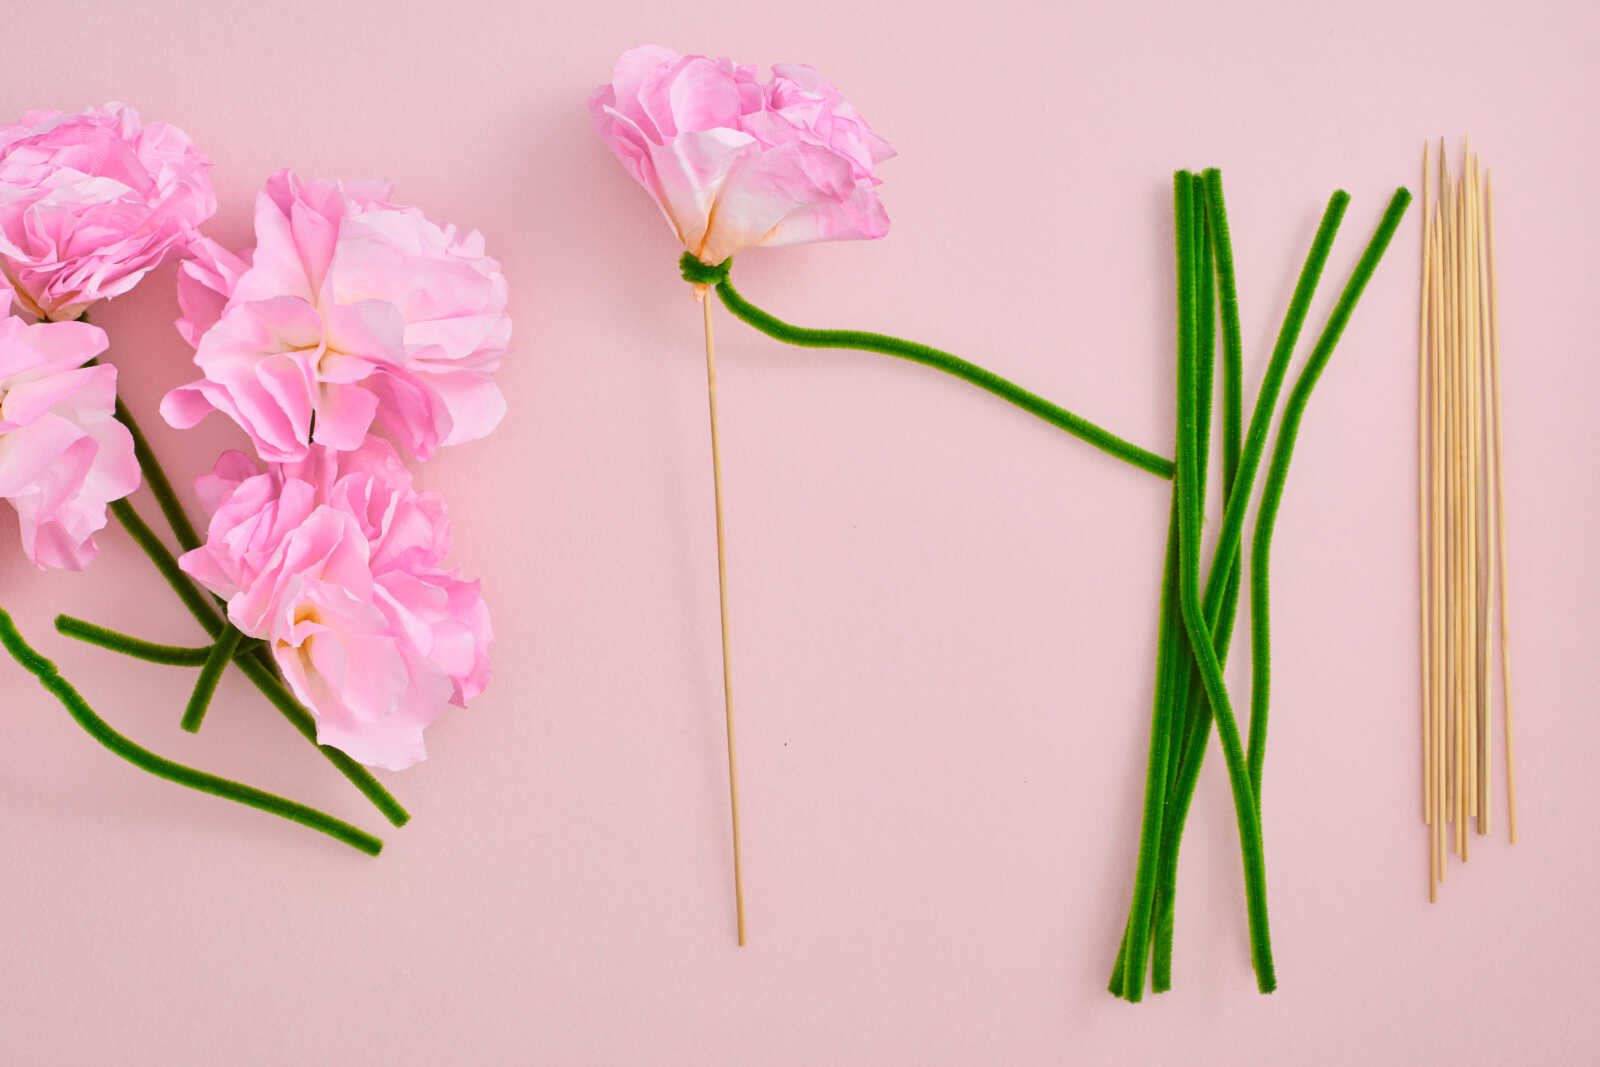
- Wrap the tip of a green pipe cleaner tightly around the bottom of the petals to secure them.
- Continue wrapping the pipe cleaner down around the wooden skewer to form the stem.
- Adjust the petals slightly to create a full, natural-looking flower.
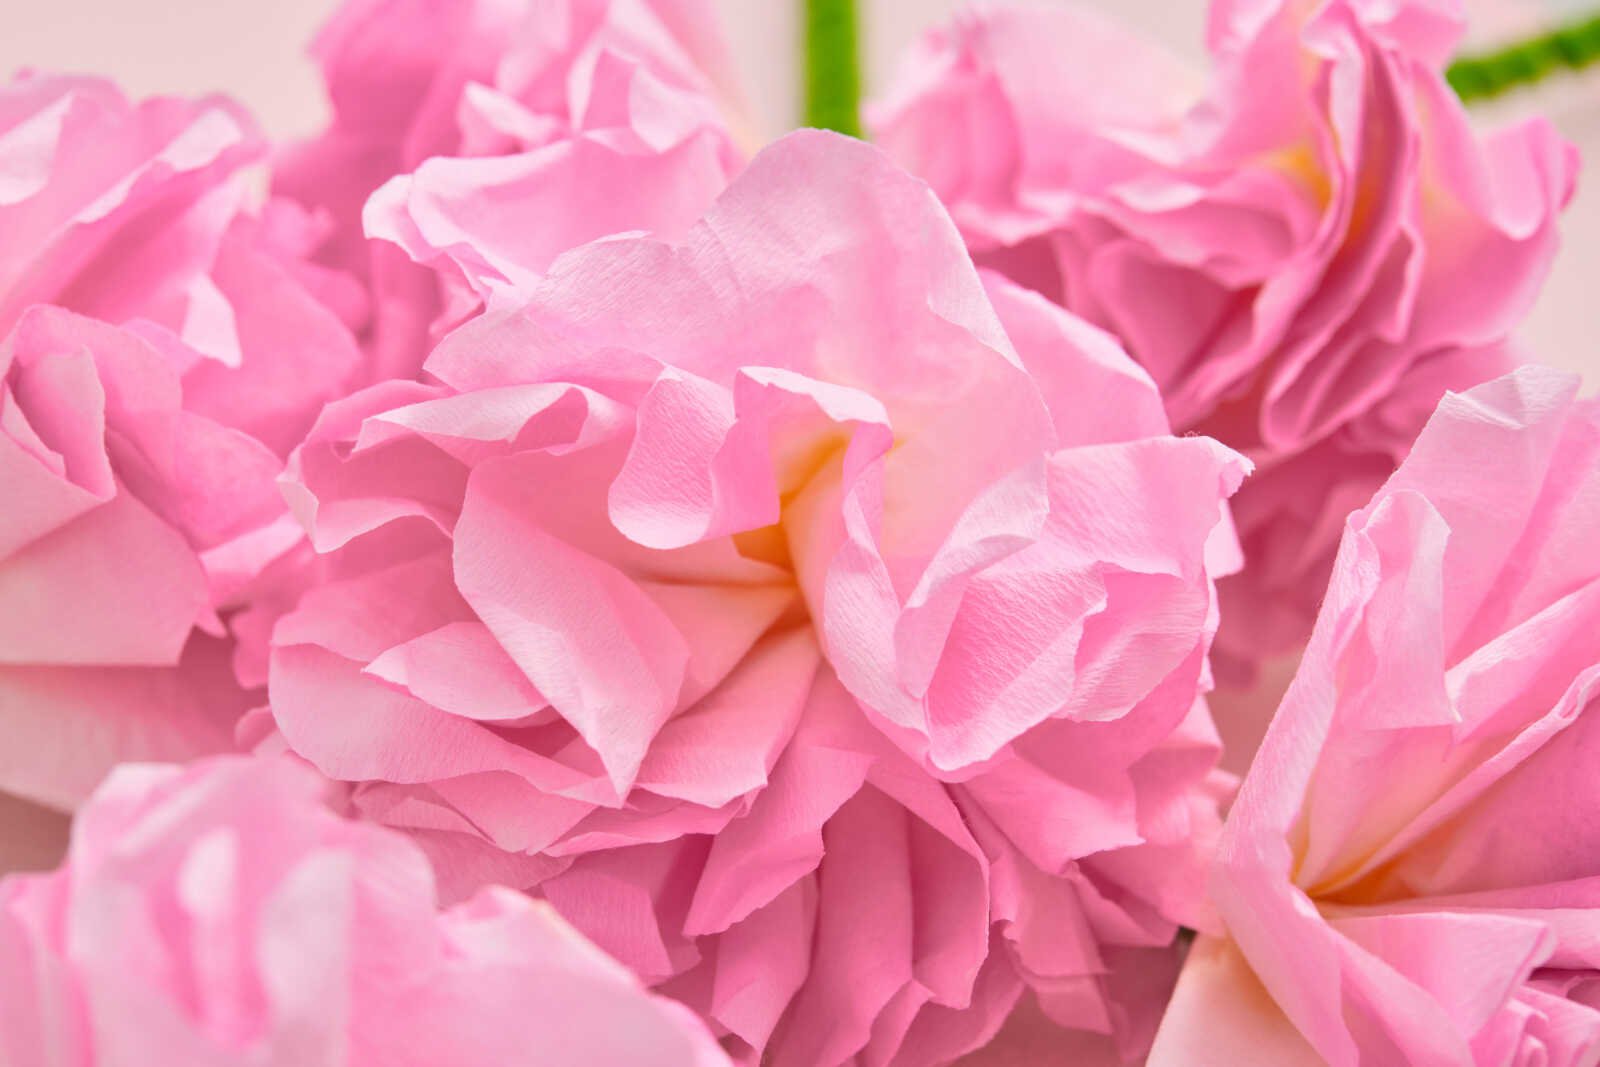
Finishing Touches
- Gently fluff each layer to create volume
- Bend the stem slightly for a more realistic look
- Add extra layers if you want a fuller bloom
Creative Variations to Try
Once you’ve mastered the basic version, you can get creative and customize your flowers.
Different Flower Styles
- Rose-inspired: Use tighter folds and deeper colors
- Daisy style: Use white filters with yellow centers
- Tie-dye flowers: Use multiple colors on each petal
Seasonal Ideas
- Spring pastels for Easter
- Bright colors for summer crafts
- Red and pink for Valentine’s Day
- Orange and yellow for fall bouquets
Ways to Use Your Coffee Filter Flowers
These DIY flowers aren’t just for crafting—they can be used in so many creative ways:
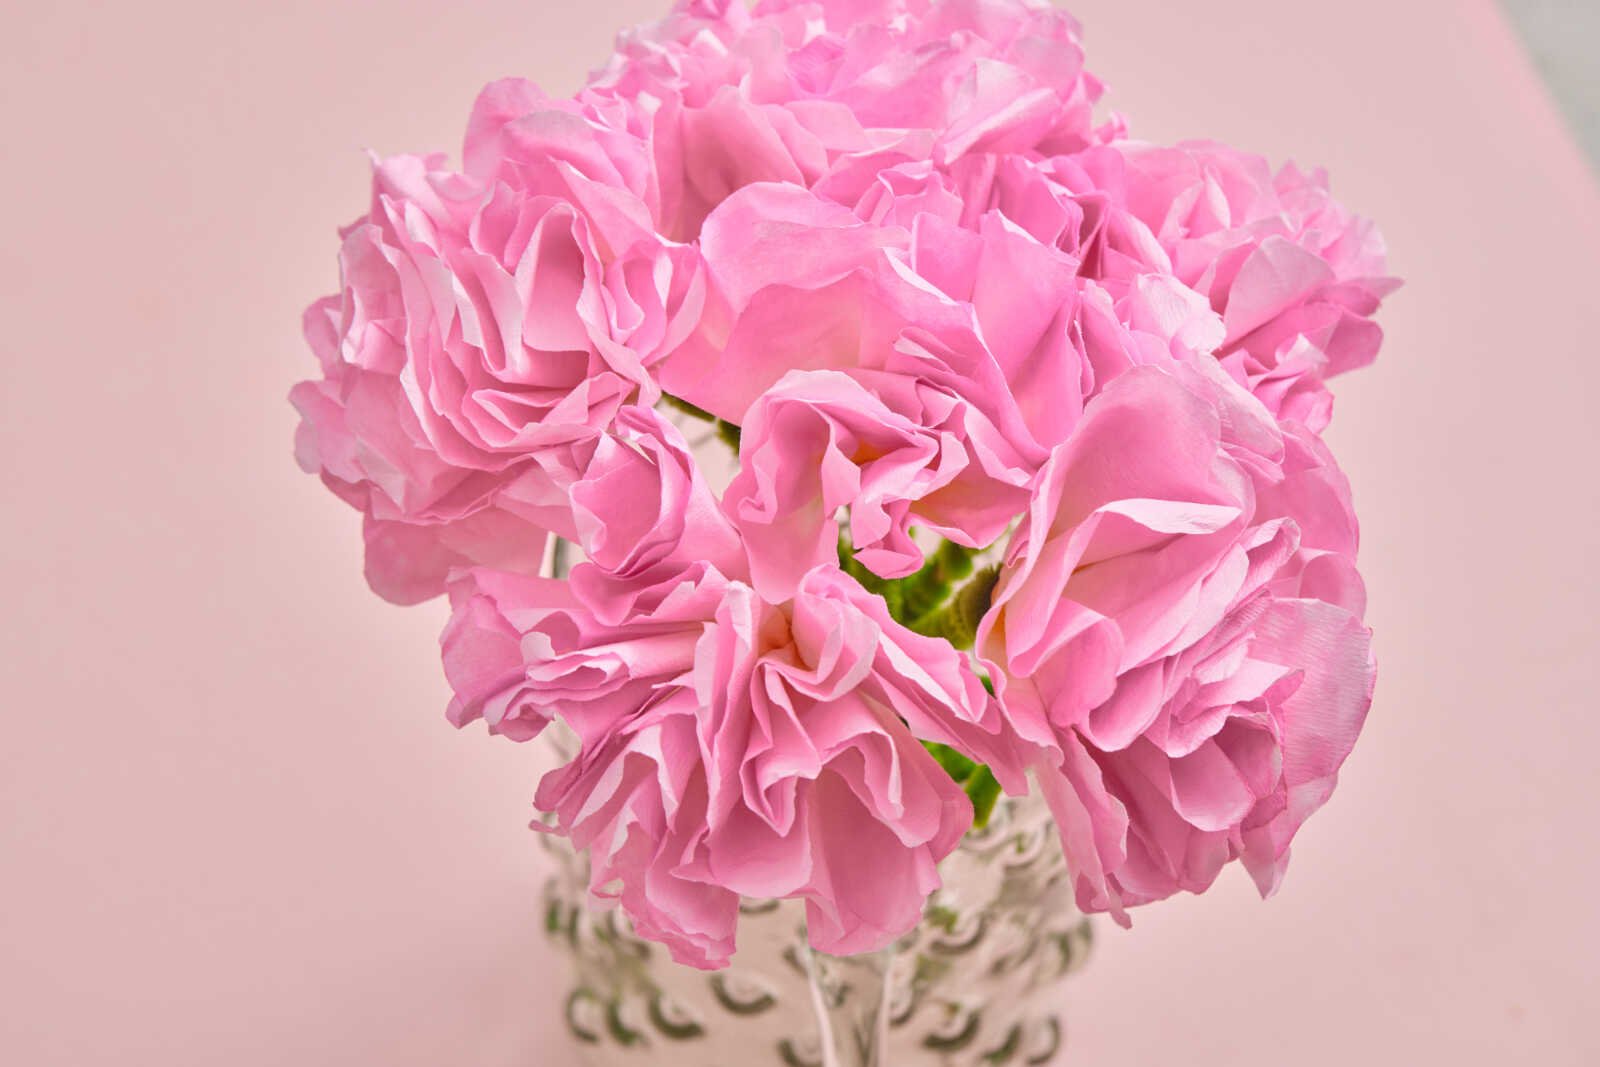
Home & Decor
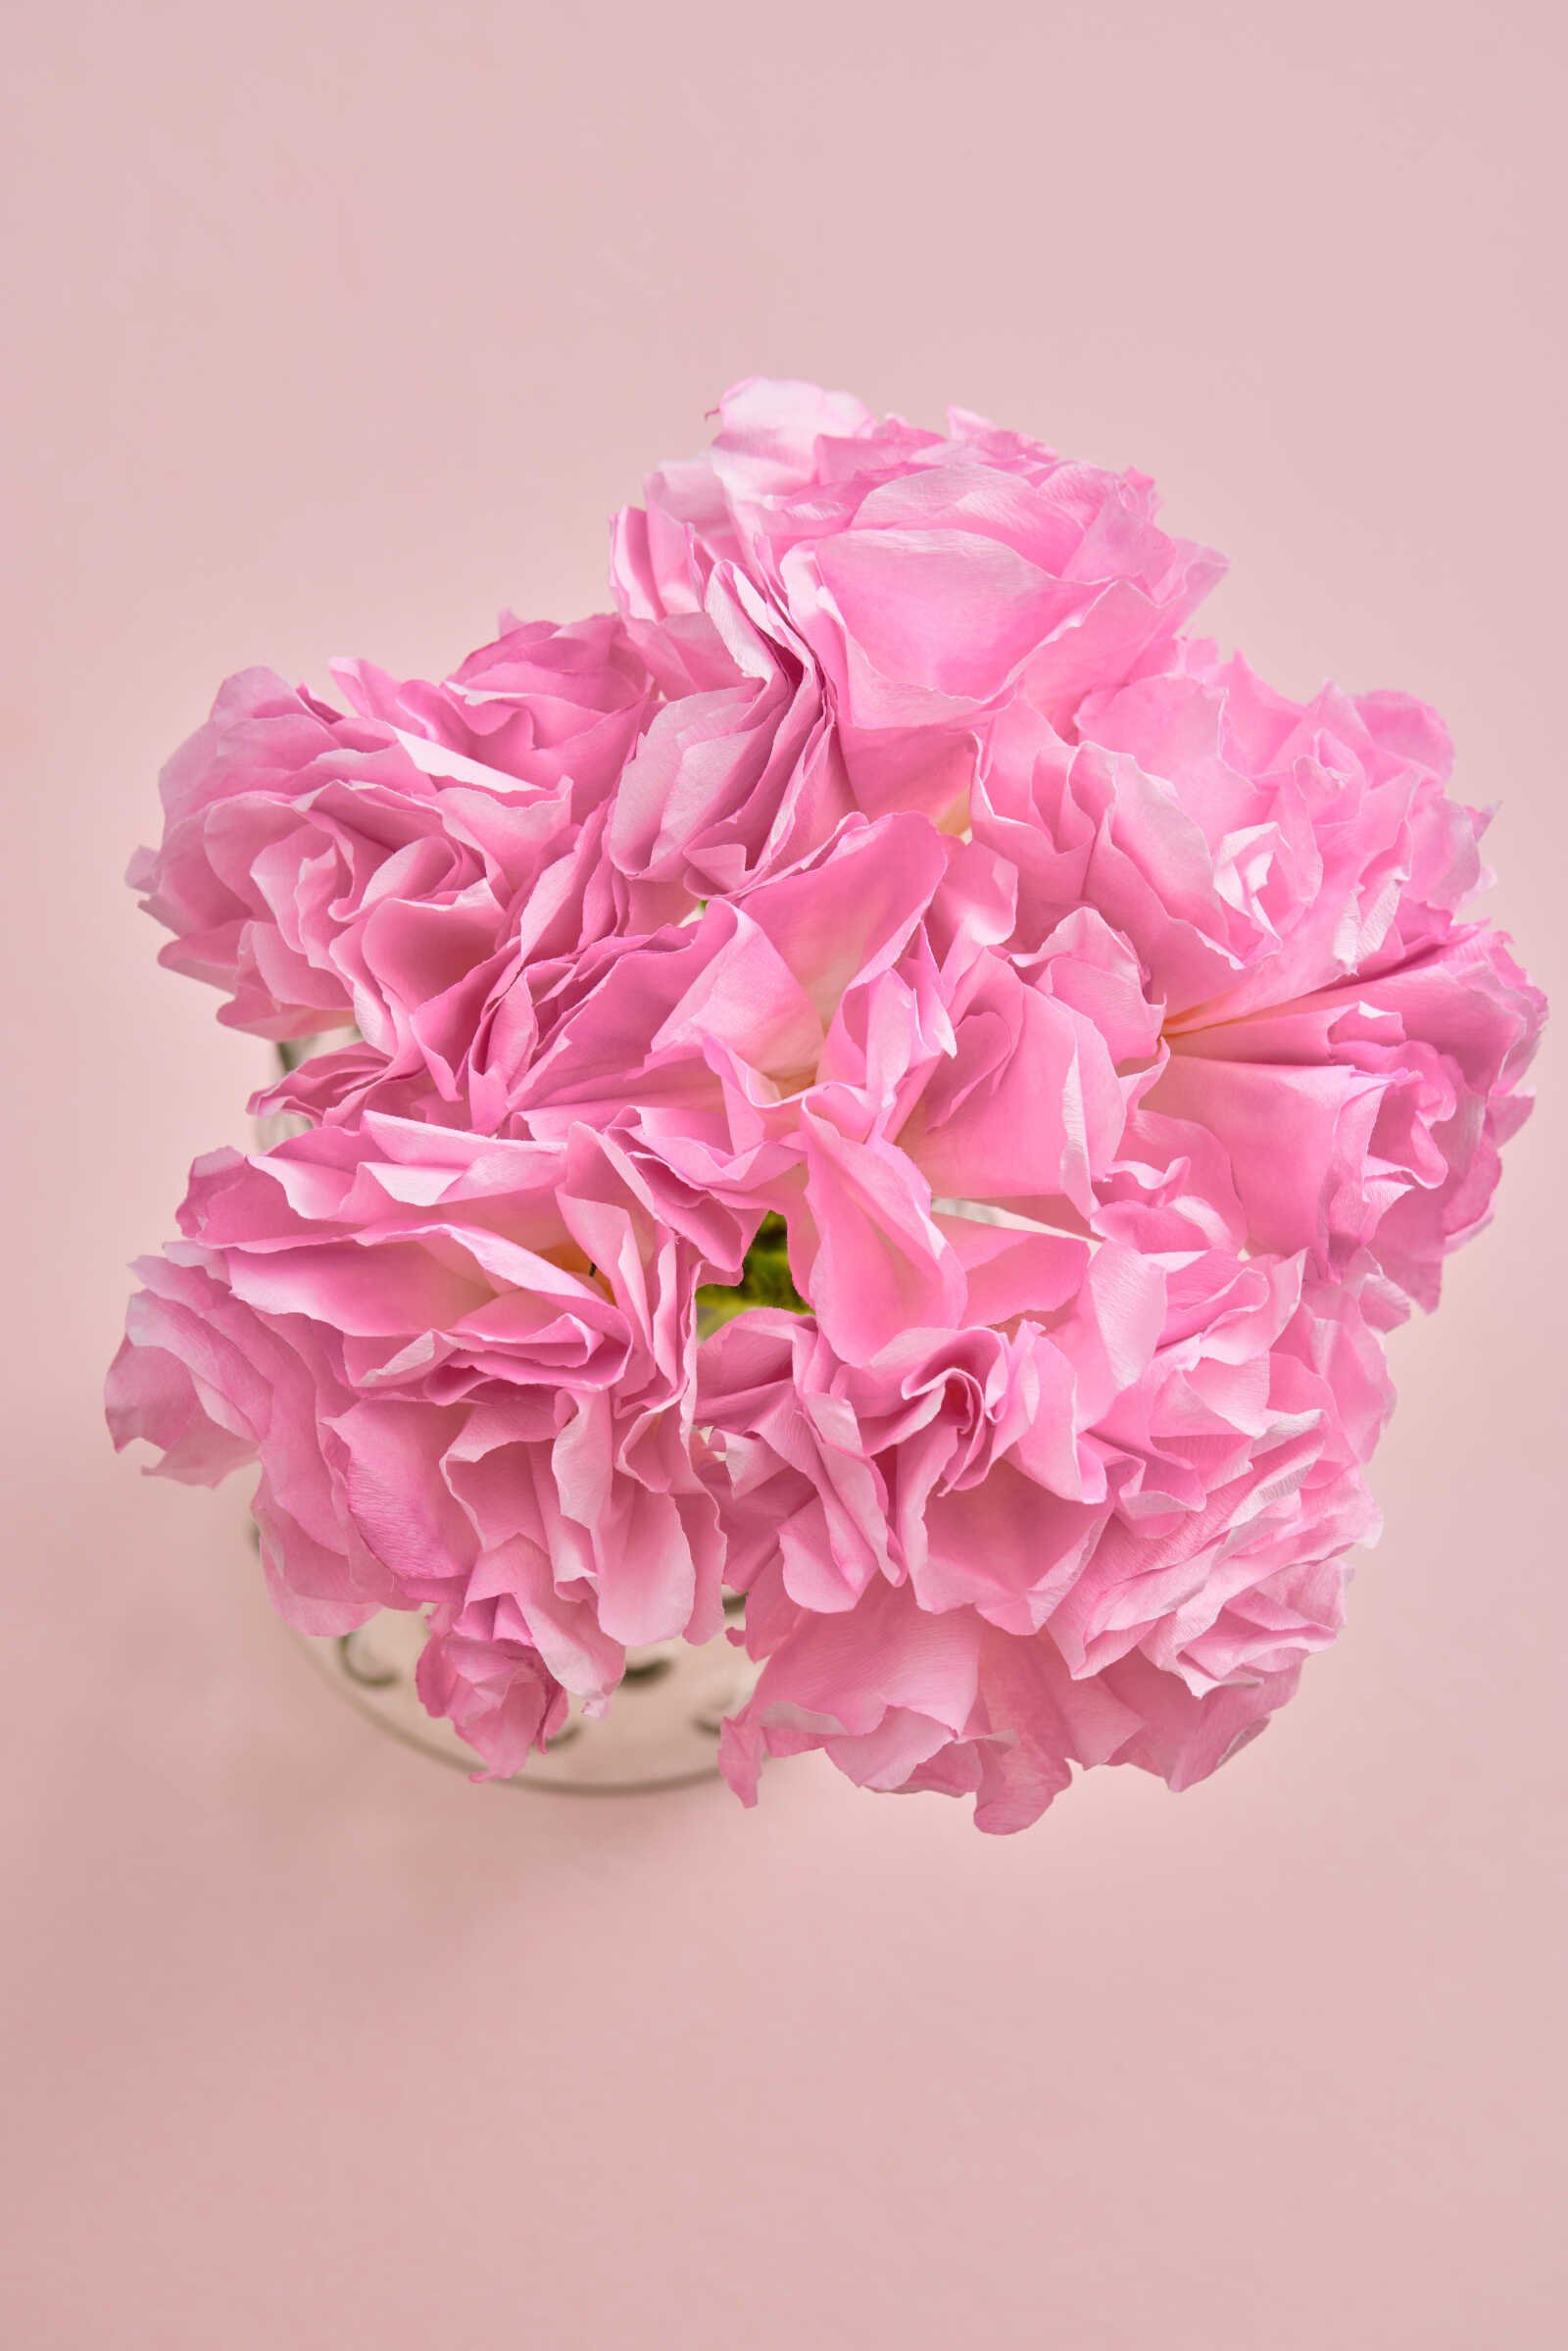
- Display in a mason jar bouquet
- Create a spring centerpiece
- Add to a wreath or garland
Gifts
- Handmade Mother’s Day bouquet
- Teacher appreciation gifts
- Kids’ handmade birthday gifts
Content & Blogging
- Perfect for Pinterest seasonal pins
- Great for step-by-step tutorials
- Ideal for kid-friendly craft blog posts
Tips for Crafting with Kids
This is an especially great craft for kids because it’s:
- Low mess (if you prep trays ahead of time)
- Easy to customize
- Encouraging for creativity
Make It Even Easier
- Pre-cut the filters for younger kids
- Use washable paints
- Let kids choose their own color combos
Mom Hack: Lay down parchment paper or a plastic tablecloth for super easy cleanup.
Common Mistakes to Avoid
Even simple crafts can have a few hiccups—here’s how to avoid them:
- Too much paint: Leads to soggy petals
- Not letting petals dry fully: Makes assembly harder
- Loose wrapping: Causes petals to fall apart
- Skipping fluffing: Leaves flowers looking flat
Why This Craft is Perfect for Your Blog
If you’re creating content for your site or Pinterest, this craft checks every box:
- Highly visual (great for SEO images)
- Evergreen seasonal appeal
- Budget-friendly
- Appeals to moms, teachers, and caregivers
- Easy to photograph step-by-step
It’s exactly the type of content that performs well on platforms like Pinterest and Google because it’s:
- Searchable
- Shareable
- Practical
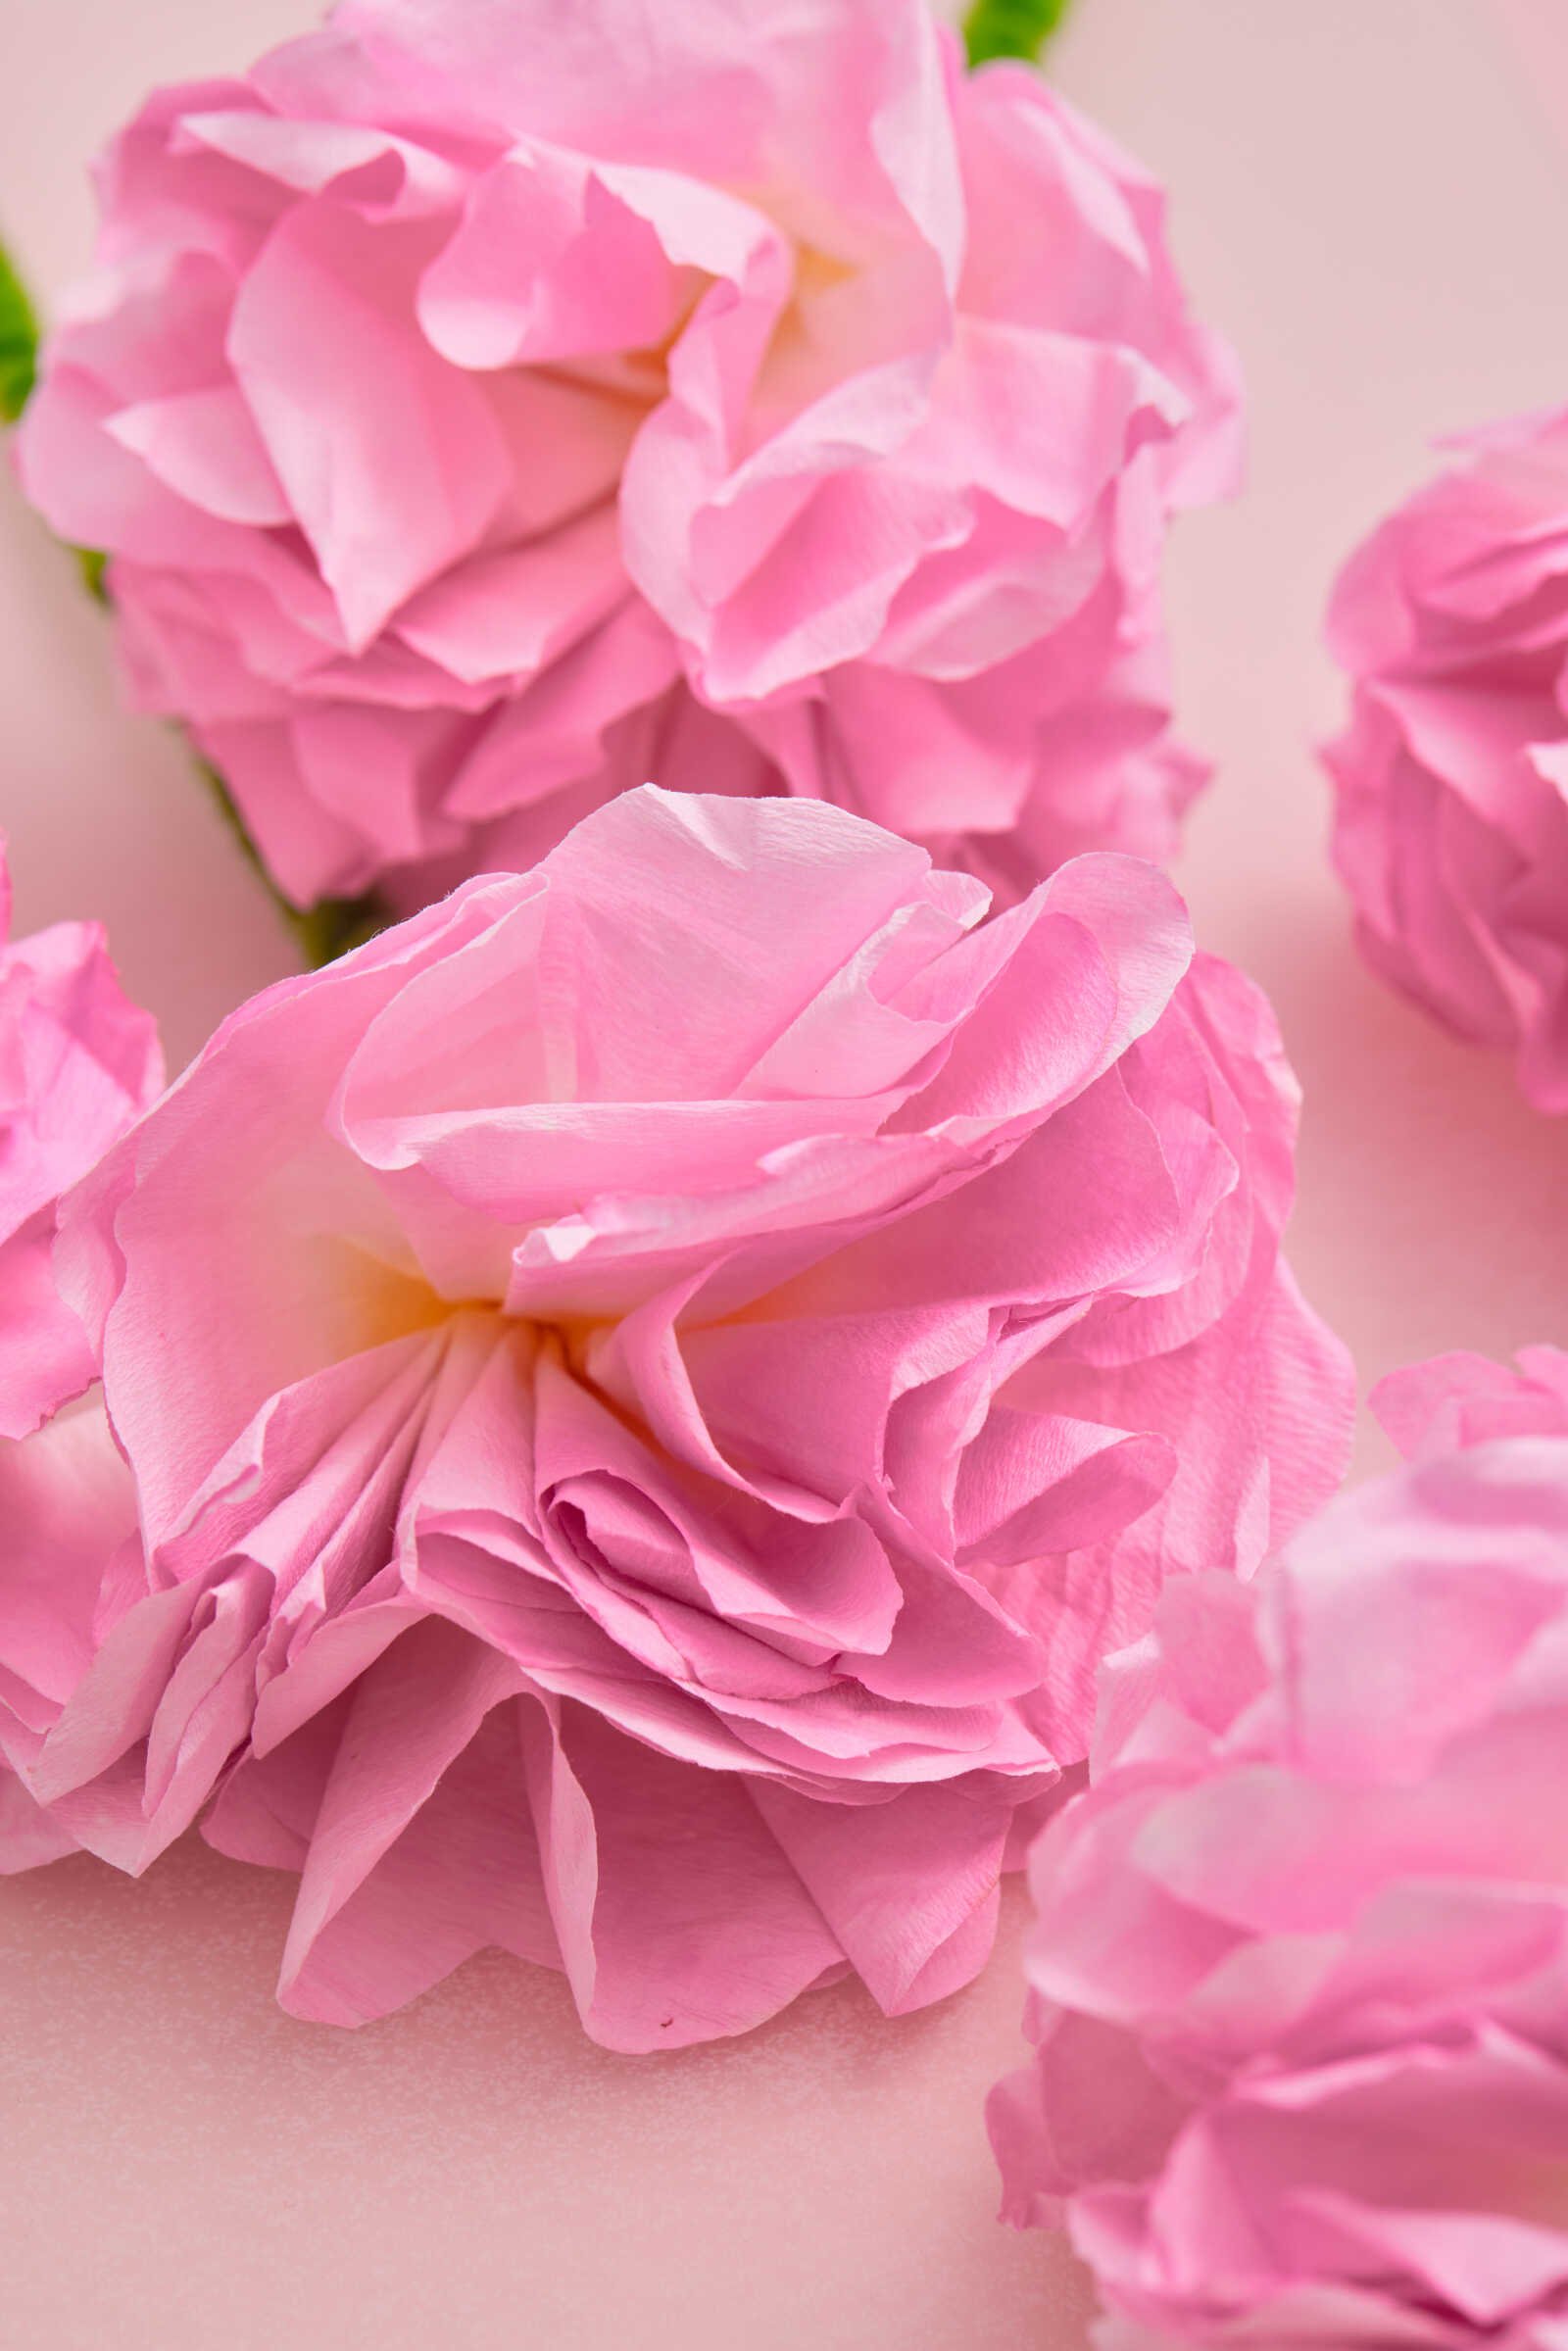
Final Thoughts
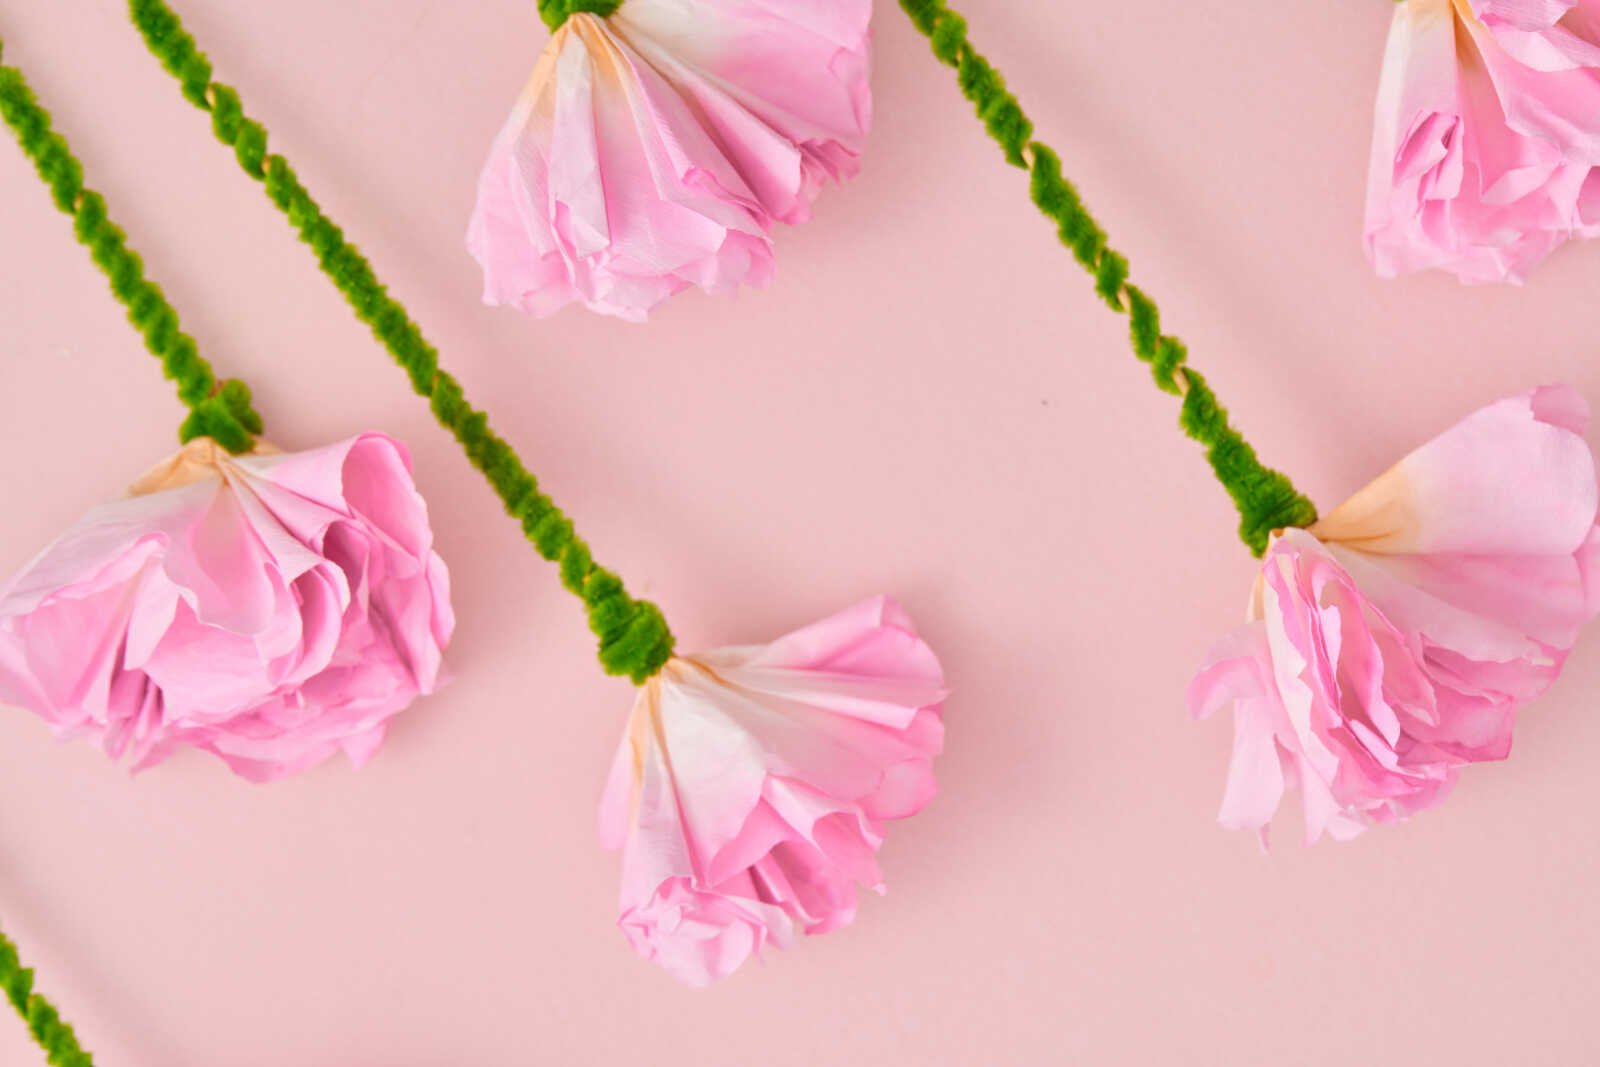
This Coffee Filter Flowers Craft is one of those projects that proves you don’t need fancy supplies to create something beautiful. With just a few household items, you can turn simple coffee filters into colorful, layered flowers that look like they came from a craft store.
Whether you’re crafting with your kids, creating content for your blog, or just looking for a relaxing DIY project, this is one you’ll come back to again and again.
So grab your coffee filters, pick your favorite colors, and start creating your own bouquet of handmade blooms—you might be surprised just how stunning they turn out.
One Comment